A few days ago, while I was shooting a cricket match, I accidentally hit the format button on my Nikon D7000 DSLR and erased every single photograph that I had taken of the game. It were actually photographs of several cricket matches played over a period of 2 days and losing those photographs was going to end in a lot of disappointment and criticism from my friends. Fortunate for me, I knew that there were ways that I could recover lost data from SD card but in order to do that, I must stop using it immediately. I took that particular memory card out of the camera, replaced it with another one and continued shooting rest of the game.
I had never ran into this situation and had never tried to recover the data earlier so it was going to be something totally new for me. I came home, searched google for softwares that could help and tried a few. Of all the softwares that I used, I found Recuva to be the best. It is a data recovery software that is quite good at what it does, is very easy to use and is completely free. You can download the software from HERE and below is a step by step explanation of how you can use Recuva to recover lost data.
I just happened to be trying to recover data from a memory card but the software works equally well on other devices as well. It can recover data from any re-writable media like memory cards, external hard drives, USB sticks, Windows hard drive, recycle bin, digital camera or MP3 player. It can however not recover the data from a CD, DCD or floppy.
One basic rule for the recovery however is that the media should not have been used. When we erase a particular file, it does not completely gets erased. It stays there but the device would just make that particular space as available for rewriting or over-writing. If you continued using the media after you deleted the files you now want to recover, chances are that those file would have already been over-written with other files which would kill any chance of recovering them. As long as the file you deleted was not over-written, you can always recover it. So if you ever run into a situation like this, immediately stop using the media until you have run the recovery software on it and restored the data.
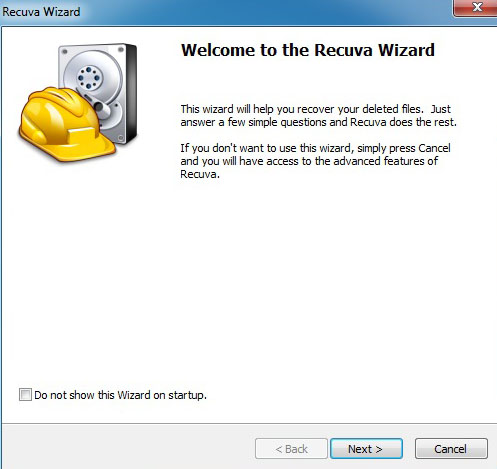
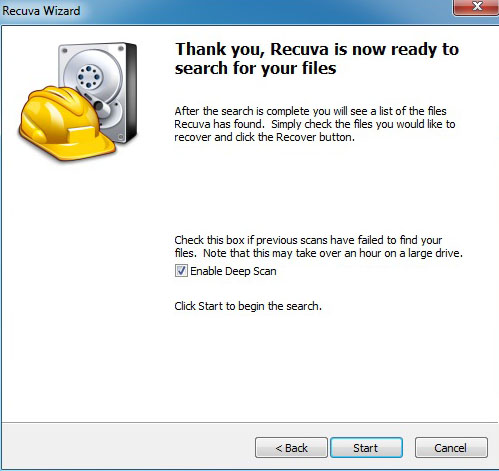
After you have downloaded and installed Recuva, go to start menu and initiate the program. The following window would pop up. Hit next.
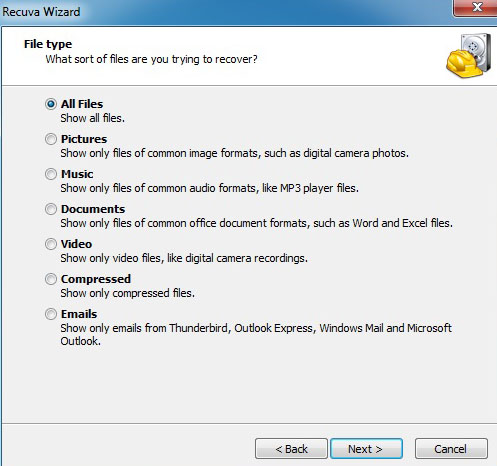
Select the type of files you want to recover. To be on the safer side, just select “All Files’ and hit next.
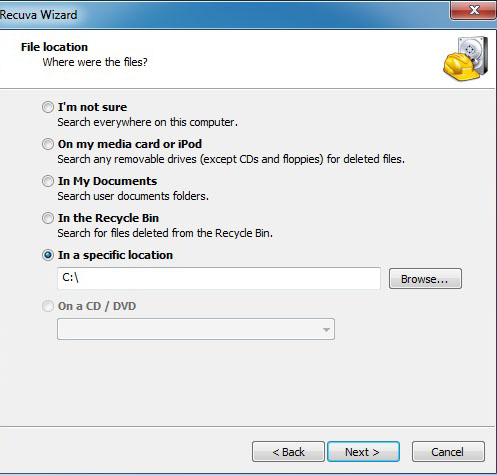
On the next window, the program will ask you the location on the drive where you want it to scan. If it was an external drive (like memory card, USB, MP3 player etc) plugged into your USB port then navigate to that location by clicking on “In a specific location”. If the data was on your computer like in my documents or recycle bin, select that option. If the files were in a specific folder on your computer, again to the the specific location option and navigate to that folder. If you are not sure, then select “I’m not sure” in which case the software would scan your entire computer, including the external hard drives plugged in if any. It may take a lot of time for this option.
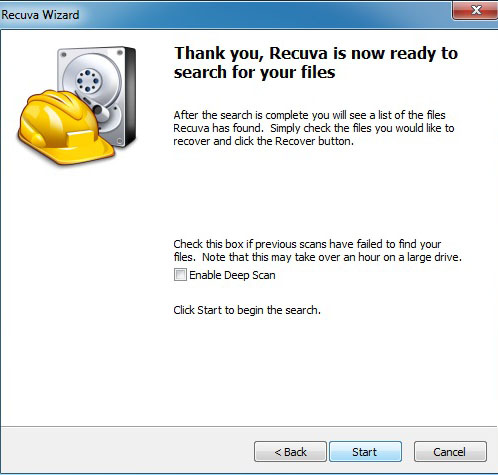
This is the next window after you selected the location and hit next on the previous screen.
For better results, select the “Enable Deep Scan” window and hit next.
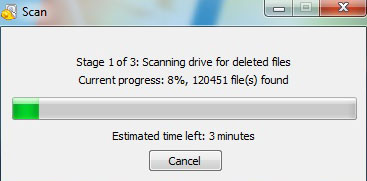
Recuva will now start scanning for lost files.
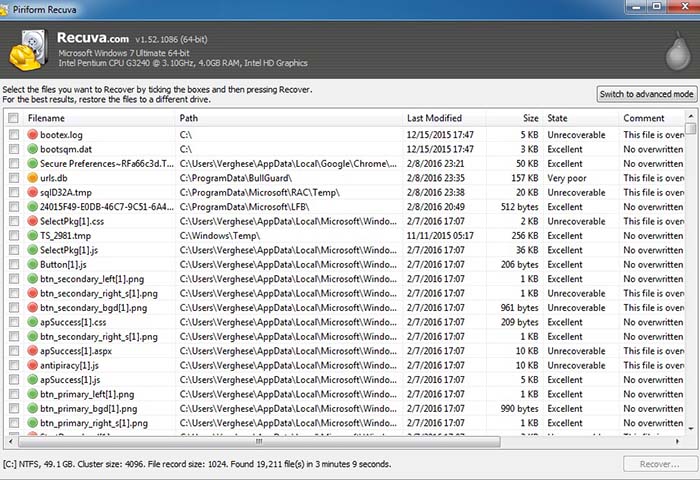
Once completed, it will give you a list of erased files that it found. It would show you both the files, that have not been overwritten and can be recovered as well as the overwritten and not recoverable files.
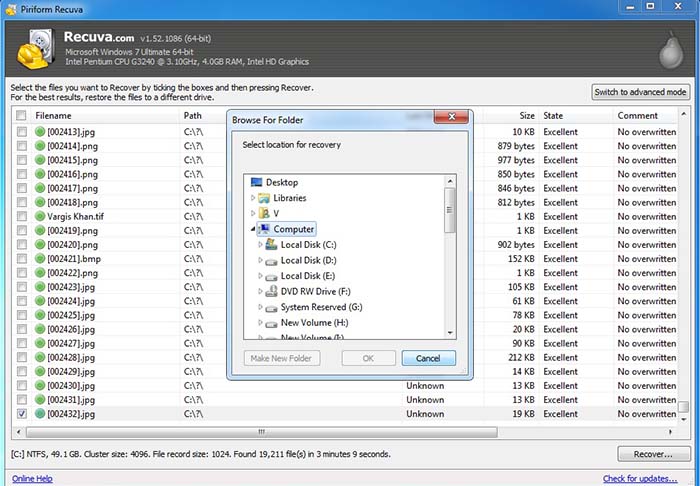
Just select the files that you want to recover and hit “Recover”. Recuva will then ask you for the location where you want to save the recovered files. Just select that location, hit “OK”and you are done. Any file that you selected and has not been overwritten will be recovered and saved in your desired location.
If there are any other programs that you know of that can recover the lost data better or are easier to use, please do comment and share.

