
First introduced in Photoshop CS3, the Quick Selection Tool can be called an advanced version of Magic Wand Tool as it pretty much works the same way but with far more accuracy and ease. As its name suggests, it helps you making a quick selection without worrying too much about drawing around edges. Like Magic Wand, It also selects the pixels based on Tone and color but the added benefit with Quick Selection Tool is that it also looks up for similar textures in the image which makes it great at detecting edges. With Magic Wand Tool, you can only click on a portion of the image but with the Quick Selection Tool, you can select area by painting over them, like a brush.
To select the Quick Selection Tool, simply click on its icon in the Tools palette. There are two tools nested in the same area and Photoshop by default highlights the last used tool in the tool bar for all categories. For example, if the last used tool was Magic Wand Tool, this will be the one that will show in the Tools Palette. To select Quick Selection Tool, either left click and hold for a few seconds and then select from the fly menu or right click on the nest and select from the fly menu.
Keyboard shortcut for selecting the Quick Selection tool is “W” however it is the same shortcut for both the selection tools nested in that group. If last used tool was Quick Selection Tool, pressing “W” will again reselect it. But if the last tool used was Magic Wand Tool, You will have to again either right click and select or left click and hold for a few seconds for the fly menu to pop up.
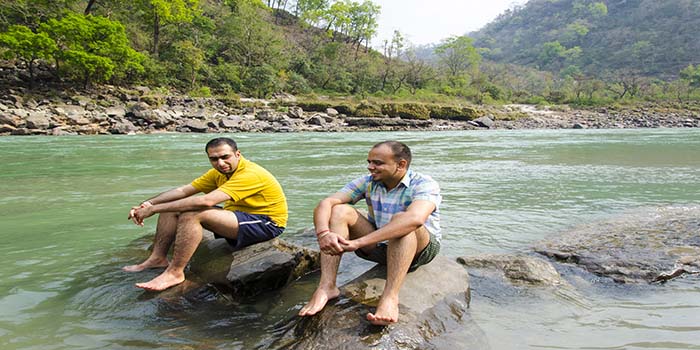
For the purpose of this tutorial, We will using the image below, making a selection around both the guys. I start by clicking on one of the guys and Photoshop will quickly sample pixels of that color / tone / texture and make a selection.

But this barely is just the start as I need to add more to that selection. Usually, with other selection tools, we have to press shift while adding to selection but not with Quick Selection Tool as it is already in that mode. Look at the top of your screen for these options.

There are by default three choices that you can pre-select. If you have the “New Selection” checked, the tool will discard you first selection and start afresh. If you have “add to selection” checked, the tool will just keep adding to the current selection. If “Subtract from selection” is checked, it will remove the area from the existing selection. Since I have “Add to selection” checked, I will continue to click and paint over areas that I need to select.
There are two way that I can add more to my selection here. Either I can just keep clicking on the portions that I wanted selected or I can click, hold the button, and drag over the areas. The second option is better because this way, Photoshop continuously analyzes the area, comparing color, tone and texture, and does its best job to figure out what it is you’re trying to select, often with amazing results.
You can resize the cursor by using the bracket keys on your keyboard. [ key will reduce the size of the circle whereas ] key will increase it. If you accidentally clicked on the wrong area, you can undo using the Ctrl+Z command and make the selection again.
I will continue clicking and dragging till both my subjects are within selection.
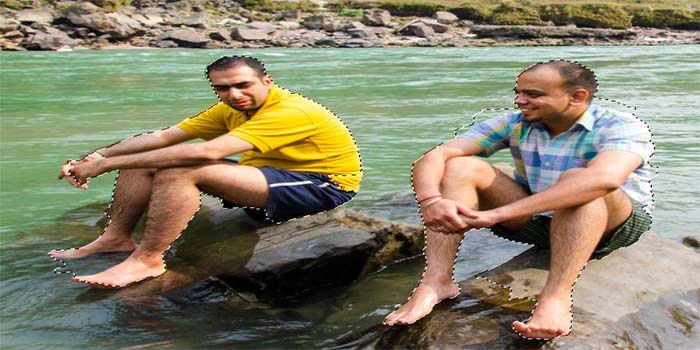
You will notice that Photoshop has also selected a lot of wanted areas in the picture. We will correct that using the “Subtract from selection” option.
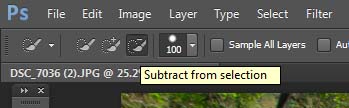
To remove an area from selection, you can either select it from the menu as highlighted in the picture above or you can press down your Alt key to temporarily switch into this mode. The + and – sign with your cursor indicates which mode you are currently using.
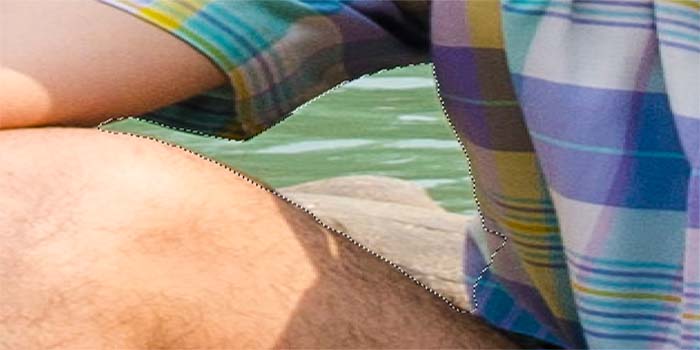
I will again repeat the same process as above and click on the areas that I need removed from my existing selection. Once finished, Photoshop will remove this area from the overall selection. I will repeat the same process for other areas that I did not need.
There are a couple of other option in the Bar at the top of you screen.
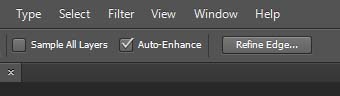
“Sample All Layers” tell Photoshop whether to select colors only from the currently active layer or all layers if you working on a multi-layered document.
Auto-Enhance option when checked can produce smoother, higher quality selection edges