
The Single Row Marquee Tool is useful when you need to trim just a tiny wee bit from the edge of an image. When selected and used, this tool selects only one pixel wide area from an image. Imagine yourself working on an image and you just need to copy a small portion out of it. If you are not using the single row marquee tool, you would either have to crop out rest of the image or select very carefully using the other selection tool. Benefit with Single row marquee tool is that it selects that tiny portion out with just one click. This tool is extremely useful in making small repairs such as a thin scratch or fold line on an image, or for getting rid of an artifact such as a colored line which are very common on scanned images.
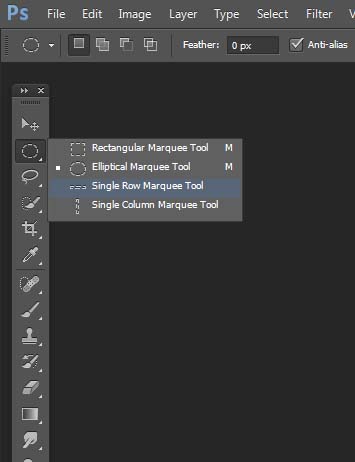
You can either select this tool by clicking on it in the Toolbar or by pressing “M” on your keyboard. In the Photoshop Toolbar, Rectangular Marquee Tool is by default usually the one that is always visible. To select the Single Row Marquee Tool either right click on the Marquee Tool area or left click and keep the mouse button pressed for a while. This will bring up the drop-down and you can select the Single Row Marquee Tool.
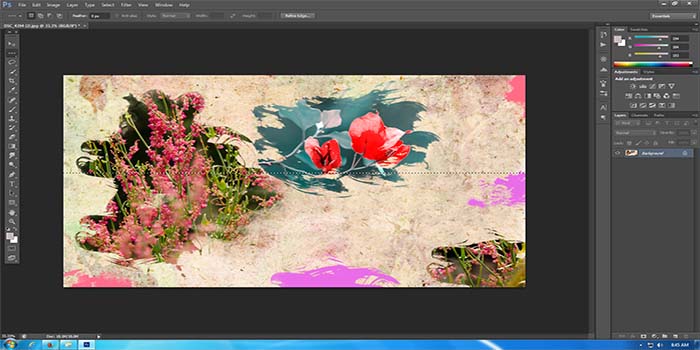
Click anywhere inside your image and Photoshop will select the specific pixel you clicked on, along with every other pixel on its right and left. If you need multiple areas selected, then after you have drawn your first selection, hold down the shift key and start making the second selection.

When you are done with the selection and no longer need it, go to Select menu at the top of the screen and click on Deselect. A simpler way to do this is by pressing Ctrl+D on your keyboard.