
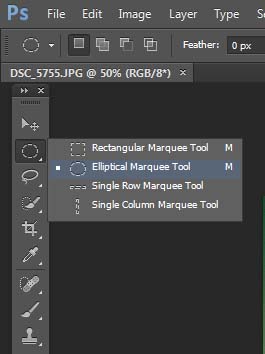
The Elliptical Marquee Tool has the same functionality as the Rectangular Marquee Tool and works much the same way. The only difference is that the rectangular marquee tool creates selection in form of rectangles and squares where the elliptical marquee tool draws in form of circles and ovals.
In the Photoshop Toolbar, Rectangular Marquee Tool is by default usually the one that is always visible. To select the Elliptical Marquee Tool either right click on the Marquee Tool area or left click and keep the mouse keep pressed for a while. This will bring up the drop-down and you can select the Elliptical Marquee Tool.
The term Elliptical comes from Ellipse which literally means “a regular oval shape”. As the name implies, the Elliptical Marquee Tool is perfect for times when you need to draw a selection in the shape of an oval or a circle. To do so, you simply click at the point where you want to begin the selection and drag with your mouse button still held down until the desired area is within the selection.

Making A Selection
You can either select this tool by clicking on it in the Toolbar or by pressing “M” on your keyboard. This tool by default draws a slightly oval shaped selection but if for some reason you want it to be a perfect circle, simply press and hold down the Shift key on your keyboard while drawing the selection.
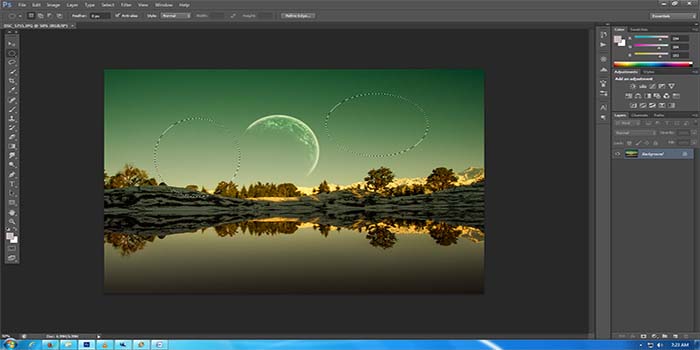
1. If you want to start the selection from a certain point and want Photoshop to auto-select in other direction in same ratio, hold down the Alt key, click at your starting point and you will notice that Photoshop will auto select as you drag your mouse.
2. If you need multiple areas selected, then after you have drawn your first selection, hold down the shift key and start making the second selection.

Making Multiple Selections
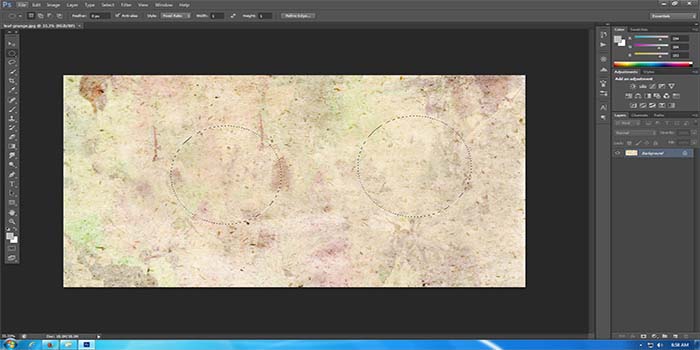
3. If you need to crop out some part from your selection, hold down the alt key and make a selection around the area that you need cropped out.
Selection Within A Selection
4.If you however want to draw two circles, holding the shift key a second time will not work because now the function of shift key would be to tell Photoshop to keep the first selection while you draw a second one. If you want your second selection to be a perfect circle, you will have to make a change in the style menu on the top. Click on it to bring the drop down then select fixed ratio and put digit 1 in both width and height. After making this change, every selection you draw will be in form of a circle.
Changing Style Menu to draw multiple circles
When you are done with the selection and no longer need it, go to Select menu at the top of the screen and click on Deselect. A simpler way to do this is by pressing Ctrl+D on your keyboard.
If you are reading this article, then chances are that you are someone who is just starting to work with Photoshop. In case you are wondering why we would need to make a selection in the first place, then the answer is fairly simple. Almost every activity in Photoshop will have you either selecting certain areas of an image or the entire image for fine tuning or manipulation. Elliptical Marquee Tool is one of the most basic tools used for this purpose.