
In this tutorial, we are going to learn about the soft light blend mode of Photoshop. This is the second blend mode listed in the contrast category.
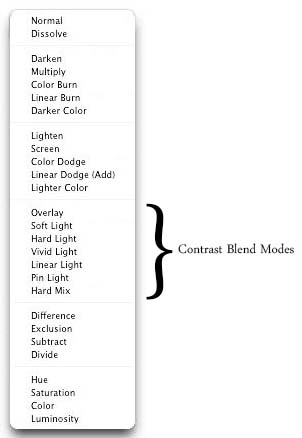
As per the definition listed on Photoshop help site, “Soft Light darkens or lightens the colors, depending on the blend color. The effect is similar to shining a diffused spotlight on the image. If the blend color (light source) is lighter than 50% gray, the image is lightened as if it were dodged. If the blend color is darker than 50% gray, the image is darkened as if it were burned in. Painting with pure black or white produces a distinctly darker or lighter area, but does not result in pure black or white.”
What it necessarily means, in simple words, is that the soft light blend mode will create a slight lighter or darker result on the image depending on the brightness of the blend color. It blends the base and the blend color in a way that if the blend color is lighter than 50% grey than the base image will be lightened and if the blend color is darker than 50% grey, the image will be darkened. Areas where the blend color is 50% grey will not get affected. Another thing to remember with this mode is that if the blend color is black the image will just get somewhat darkened, and if the blend color is white, Image will be brightened a bit. However if the color is any other than black or white, the result will be a tinted image depending on what color you chose.
This blend mode can be effectively used to correct a washed out or overexposed photo. Let us understand with the help of an example. We will be using the following two images.
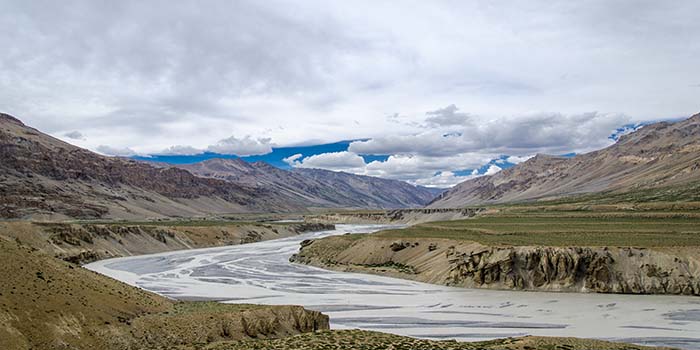
Image 1

Image 2
The first one is a photograph I clicked using my Nikon D7000. Second one is a simple gradient document; far left end of which is pure black and then it slowly transitions from black to white towards the right, far right being pure white. I have both these documents open in Photoshop. My image is currently on background layer while the gradient document is on top of it as Layer 1. Blend mode as of now is normal which means no blending at all.
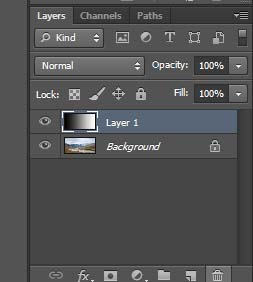
If you are wondering how to do this, get these images on the same document I mean, then it is pretty easy. It is actually a simple copy paste command. I opened both the images in Photoshop, switched my view to Image 2, selected it all by pressing Ctrl + A on my keyboard, then copied it by pressing Ctrl + C. After the image was copied, I switched the view to Image 1 and pasted Image 2 on top of it.
Now let us change the blend mode of Layer 1 to soft light. And this is the result. I will post both images together for comparison.
Image 1
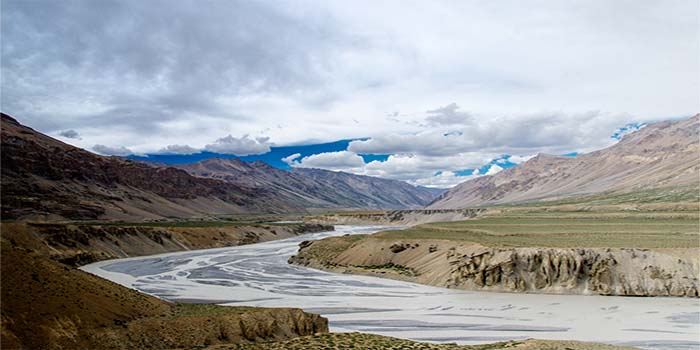
After applying soft light blending mode
Notice how the image on the left side darkened a bit while on the right side, it brightened up. That is because our blend layer on the left was pure black while it was pure white on the far right. The entire effect from dark to light can actually be seen on the image. In the center, where it was 50% grey in the gradient document, the image remained the same. It was neither darkened nor brightened.
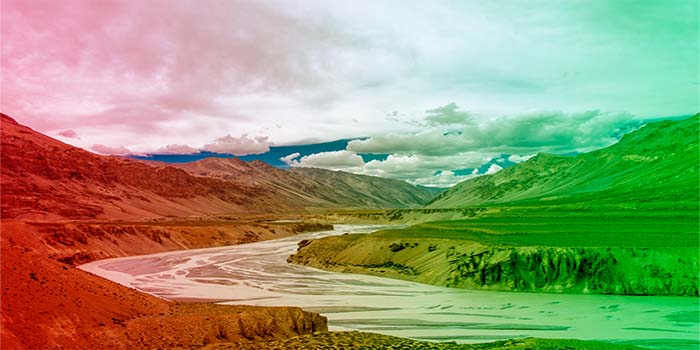
Also, as I mentioned above, that if the color is anything other than black or white, it would resulted in a tinted image. In the example above, I used a black and white gradient. What if I instead used a red to green document? This is how the result would be.
Let us also look at an example of how we can use it on correcting overexposed photographs. We will use the following sunset image that I clicked in Goa.
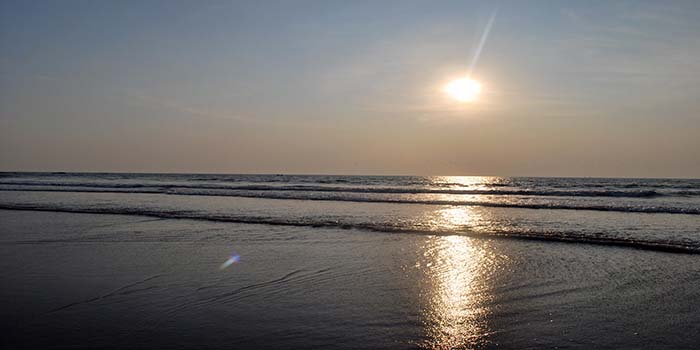
Even though the image looks OK, I would rather it was a little dark towards the edges and bright only where the sun is to give an overall warm sunset look. Right now it just looks a little too bright for a sunset. I opened this image in Photoshop and created a duplicate layer of it by pressing Ctrl + J on my keyboard. Another way to create a duplicate layer is to go to the layer menu at the top and select duplicate layer or simply right click on background layer and select duplicate layer from the fly menu.
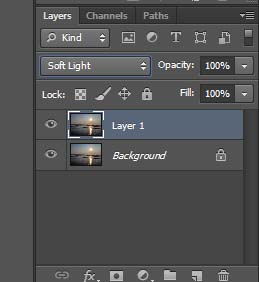
I will now change the blend mode of my duplicate layer to soft light and this is the result.
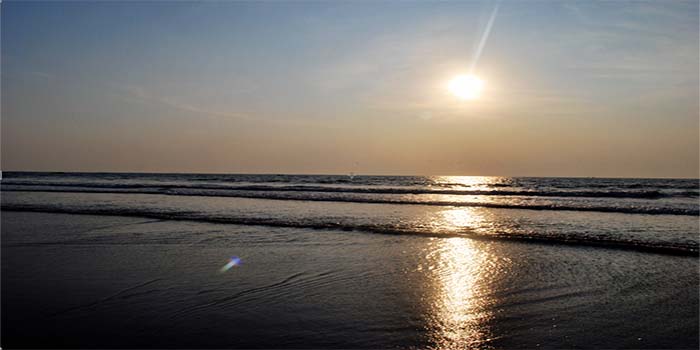
What happened here is that Photoshop looked up the colors in the duplicate layer and darkened and lightened the overall color tone depending on the 50% grey math that we discussed above. The final result as you can see above is an image that darkened around the edges and brightened even further where the sun is.
That sums up our tutorial on soft light blending mode. In the next tutorial, we will learn about the hard light blending mode, the third one listed in the contrast category.