
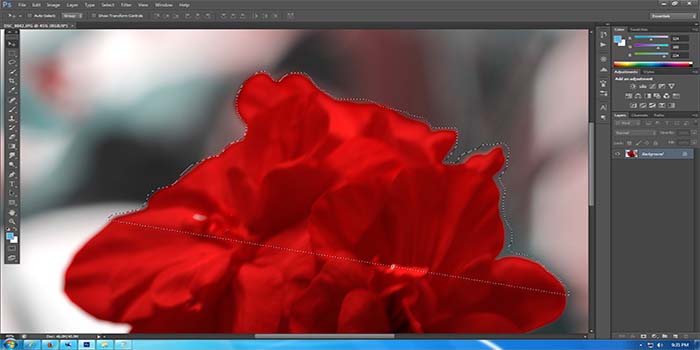
The word Polygon means a closed shape with straight sides. Rectangles, triangles, hexagons, and octagons are all examples of a polygon. The word polygon comes from the Greeks, like most terms in geometry, which they invented. It simply means many (poly) angles (gon) and this is where the Polygonal Lasso Tool derives its name from. As the name suggests, this tool helps makes selection around a subject in forms of these geometrical shapes. The only catch is that all the lines in the selection must be straight, they cannot be curved or rounded of anywhere and this is where the difference between Standard Lasso Tool and Polygonal Lasso tool is. While with the Standard Lasso, you can practically draw around you subject, bending and twisting the selection as you wish, with the Polygonal Tool you cannot curve or your selection at any point. Let’s take a look at a couple of pictures for better understanding.
If you do not circle back to the starting point, Photoshop draws a straight line to close the selection
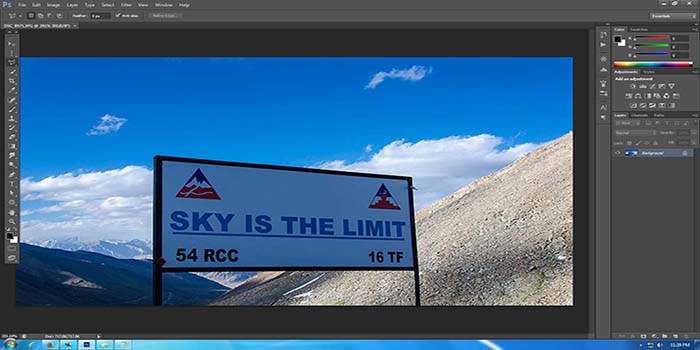
In case of the signboard, I can quickly make a selection using the Polygonal tool but I cannot do that with the flower. Big question than is, why use the Polygonal Lasso Tool at all and not go straight for Standard Lasso Tool. Problem with standard Lasso is that you got to keep your hand very steady while drawing and even the slightest of shake would ruin the selection. It is also very time consuming as you got to draw very slowly and carefully. If the outlines of your subjects are straight lines then all you need to do is make a quick selection with the Polygonal Lasso Tool and save a lot of hassle.
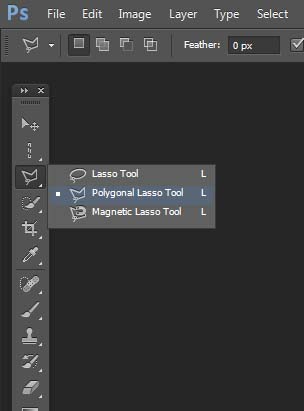
To select the Polygonal Lasso Tool, click on the rope shaped icon. Photoshop by default highlights the last used tool in the tool bar. For example, if the last used tool was Standard Lasso Tool, this will be the one that will show in the toolbar. To go back Polygonal Lasso tool, either click and hold for a few seconds on the lasso tools and then select from the dropdown or right click and then select.
Keyboard shortcut for selecting the Lasso tool is “L” however it is the same shortcut for all the Lasso tools. If last used tool was Magnetic or Standard, pressing “L” will again reselect it. You will have to again either right click on lasso tool or left click and hold for a few seconds for the fly menu to pop up.
Using Polygonal Lasso Tool is fairly easy. You left click at a starting point, drag your mouse to the end point, click again and Polygonal Tool will draw a line. You do not need to keep the mouse button pressed as you drag, just click at the starting and end points. Continue making selections in this manner till you have closed the selection around your subject. Photoshop will then highlight the subject. If by mistake you clicked at a wrong spot, you do not need to start all over again. Just press the Backspace or Delete key on your keyboard to undo the last point. If you wish to undo several points, continue pressing Backspace / Delete to undo points in the reverse order they were added.
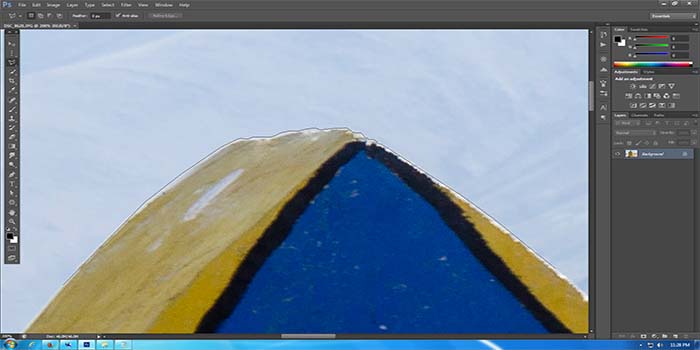
As long as the outlines of your subject are all straight, Polygonal Tool is easy but problem comes when there is a slight curve in between somewhere, like in the picture below. In order to handle an image like this, I can conveniently shuffle between the Polygonal and Standard Lasso Tool. I will start my selection with the Polygonal Tool, draw straight line, press the Alt key and hold it down when I reach a rounded part which will temporarily switch me over to Standard Lasso Tool and I can trace around the tricky portion. Alt Key would have to be kept pressed while I am tracing the circled portion. Once done, I would let go of the Alt key and it would switch me back to the Polygonal Tool.
If you have zoomed into an image for the purpose of making selection and need to scroll your image around inside the document window as you’re drawing the selection, you can do it by holding down your spacebar, which will temporarily switch you to Photoshop’s Hand Tool. A hand sign will appear which you can use to scroll the image as needed. Releasing the spacebar will then take you back to Lasso Tool and you can continue drawing the selection. Benefit of this feature is that you do not need to have you entire subject fit in to the screen while you draw. Zoom as much as you need, start making the selection, press the space bar when you need to scroll up or down, and continue drawing. Remember to not release the mouse button even when you have the space bar pressed.
You may want to switch to a full screen mode as you draw so that you can be as precise as possible. To do this, before starting to make the selection, press the F button on your keyboard. This will switch you to a full screen with the Toolbar still visible. Pressing the F key again will take you to a complete Full-screen mode and even the toolbar will be gone. Once you are done drawing and you selection is highlighted, press the F key again and it will take you back to the regular mode. Remember, you need to use the F key before you are start to draw or after you are done with it. This function will not be available while you are making the selection.
If you need to deselect the area you just traced around, go to Select Menu at the top and select click on “Deselect”. Alternatively, you can also use Keyboard shortcut Ctrl+D to deselect a selection. If you started a selection and then want to stop and start over, press the Esc key.
If you want to keep your lines strictly straight, press the shift key and hold it down while you click at the selection points.