
So far we have covered the first three categories of Blend modes. Let us do a quick recap before we move on to the fourth category.
1. Photoshop groups the blend modes together in categories. All the blend modes in a group will have a similar or related effect on an image when applied.
2. The first category of blend modes is known as Default but is actually an uncategorized group. Both the blend modes in this category are neither related nor have anything to do with one another. They are just listed together in uncategorized group as they do not fit in any other category.
3. The second group of blend modes is known as darken because all these modes would have a darkening effect on the image.
4. The third group is known as lighten as these modes result in lightening or brightening of the image.
We now will look at the fourth category of blend modes called “Contrast Blend Modes”.
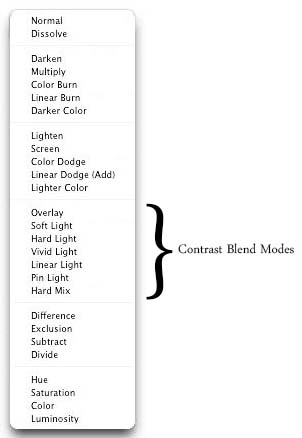
As you had probably already guessed by the name, all the modes listed in this group have something to do with the contrast levels of an image. To be precise, when applied, these modes boost up the contrast while blending in the two layers together. They all however work in their own unique way which we will understand as we look at these modes one by one in details. The first blending mode in this group is “Overlay”.
Overlay by far is the most popular and also my personal favorite mode in the contrast category. It is also listed among the “must know” blend modes of Photoshop. As per the official definition listed on the Photoshop help site,
“Overlay blending mode multiplies or screens the colors, depending on the base color. Patterns or colors overlay the existing pixels while preserving the highlights and shadows of the base color. The base color is not replaced, but mixed with the blend color to reflect the lightness or darkness of the original color.”
One of the many reasons why I consider this blend mode to be my favorite one is because it is quite simple to understand. In simpler words, what you need to know about overlay is that when applied,
1. This blend mode gives preference to the colors of the base layer.
2. Will multiply the dark colors to make them darker.
3. Will screen the light colors to make them lighter.
4. Anything that is 50% grey will completely disappear.
5. Will boost up the contrast in the image.
And that is pretty much it. When you use the overlay blending mode, Photoshop will blend in the colors of the blend layer to the base layer while doing everything mentioned above. The most important thing to remember here is that the preference in this entire process will be given to the colors of the base layer. How? Let us understand with the help of an example. We will be using the following two documents that I created.

Image 1
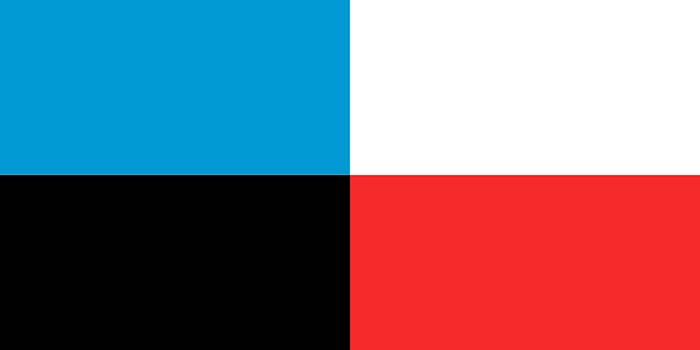
Image 2
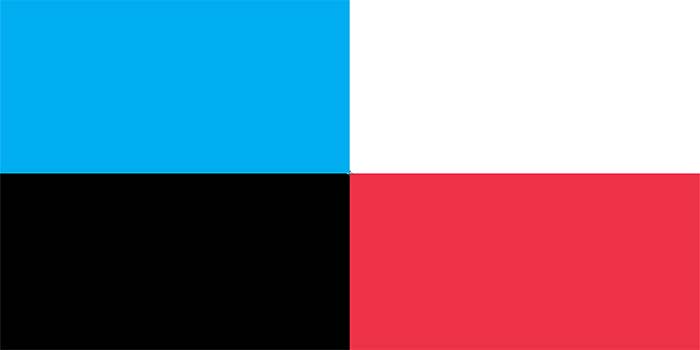
The first document is just filled with plain blue. The second document however has four blocks in it. The first block, start from the top left, is exactly the same color as Image 1. The second block is pure white, third is pure black and the last block is filled with red.
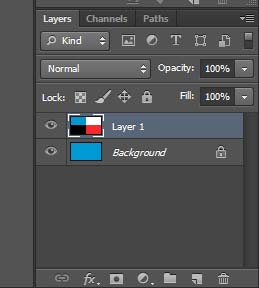
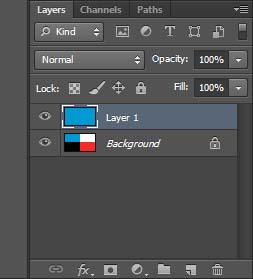
I have both the images open in the same document. Image 1 is currently my background layer while Image 2 sits on top of it, on layer 2. If you are wondering how to do this, get these images on the same document I mean, then it is pretty easy. It is actually a simple copy paste command. I opened both the images in Photoshop, switched my view to Image 2, selected it all by pressing Ctrl + A on my keyboard, then copied it by pressing Ctrl + C. After the image was copied, I switched the view to Image 1 and pasted Image 2 on top of it. The blend mode currently is normal, as shown in image above.
Based on what we have learnt so far, if I changed the blending mode of Layer 1 to overlay, we can expect the following to happen.
1. Since the preference with overlay mode is to the colors of the base layer which is filled with blue currently, the overall change should result in a bluish shade in all of the colors on Layer 1.
2. Since overlay lightens the light color tones even further, I can expect my Block 1 and 2 to change to a light shade of blue.
3. Block 3 is a dark black so I can expect a darker shade of blue here.
4. Block 4 is a dark red so after blending, this should produce an entirely new shade of blue.
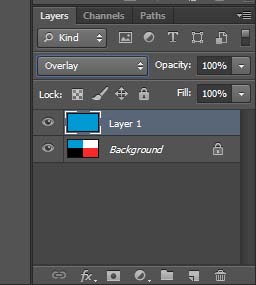
Let us see if this is what happens. Keeping layer 1 as active, I changed the blend mode to Overlay.
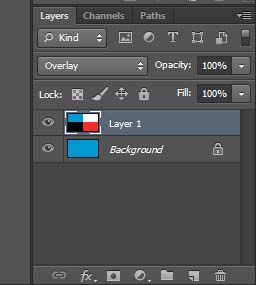
And here is the result.
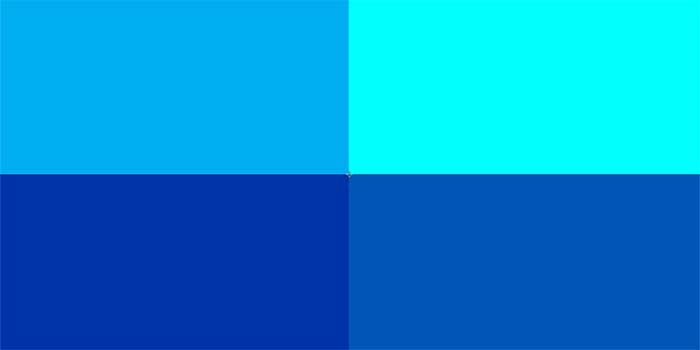
Notice how the entire document has turned into blue just as we discussed. There is no other color left. Why? Because our base layer was filled with blue and it was given preference. Block 1 turned into a slightly lighter blue than before however the lightest shade is in Block 2. That is because it was filled with pure white which is considered as the lightest color tone. When it was blended with the blue on base layer, it produced the lightest color shade among all the four blocks. Same way, since the pure black in Block 3 was the darkest color tone; it produced the darkest shade of blue. Blending the blue with red in Block 4 resulted in an entirely new shade of blue.
Another important thing to notice here that with the previous blending modes that we discussed in earlier tutorials, blending with black or white usually did not result in a change. Blacks remained black and whites remained white. This however is not the case with overlay blending mode. The reason for this again lies with the fact that it preferred the colors of the base layer over the colors of the blend layer. Let us try to understand it better with the help of another example.
Once again I have both these images open in Photoshop. The difference however is that this time, I have the four block document as my base layer, the background image, and the plain blue document is on top of it. Blending mode as of now is normal which means no blending at all.
Based on what we just discussed, if we now change the blend mode of Layer 1 to overlay, we should expect different results. Now the preference would not be given to Blue as it was earlier because now our base layer has four different colors in it. Let us change the blend mode to Overlay and see what happens.
And sure enough, the results are a lot different.
After applying overlay blending mode
Block one kind of has the same effect as before. It again lightened but just a bit, hardly noticeable, like before. Block 2 however remained as pure white. Why? Because this time the preference is being given to the white color on our base layer. Since overlay lightens the light colors even further, white remained white. Same way, since dark tones get even darker, our pure black remained pure black in Block 3. Interesting change however is in the 4 block. Last time, when the base layer was blue, this block turned into a darker shade of blue but now the preference was given to the red color and we now have a shade of red with slight blue effect.
Now that we have understood how overlay blending mode works, the next big question is where and how do we use it in our day to day image editing. As I mentioned before, this is by far my most favorite blend modes of all because it can be used to create some really cool effects in your images and also to fix contrast on old faded images. Let me show you how. I will use this old photograph of mine that I scanned into my computer.
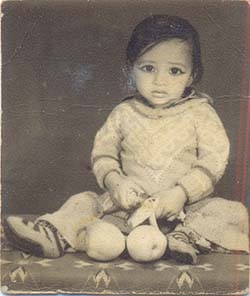
This photograph is over 20 years old and as you can clearly see, it has faded overtime and looks very dull. Contrast is gone almost completely which I will try to fix using the overlay blending mode.
This image is currently open in Photoshop and sitting as the background layer.
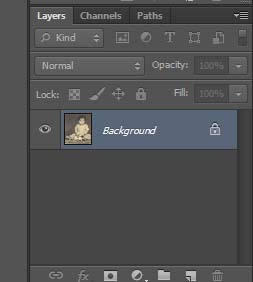
I will create a duplicate of my existing background layer. There are three way to create a duplicate as we have learnt in our previous tutorials. One way is to go to the Layer menu at the top and click on duplicate layer. Second way is to right click the background layer in layers panel and select duplicate layer from the fly menu. Third and the quickest way is to press Ctrl+J from your keyboard and Photoshop will create a duplicate of background layer and name it as layer 1.
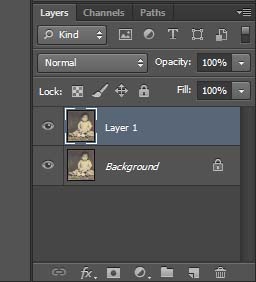
I will change the blend mode of Layer 1 to Overlay and sure enough, my photo already looks much better than before. Contrast has noticeably gone up, dark colors became darker and the lighter ones got lighter.
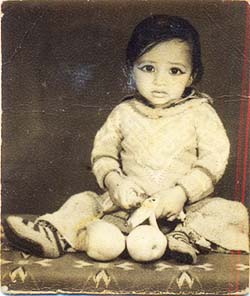
This is an easy way to fix our old faded photographs. Now let us see how can blend two images together using the overlay blending mode and create some effects. I will be using the following two images.
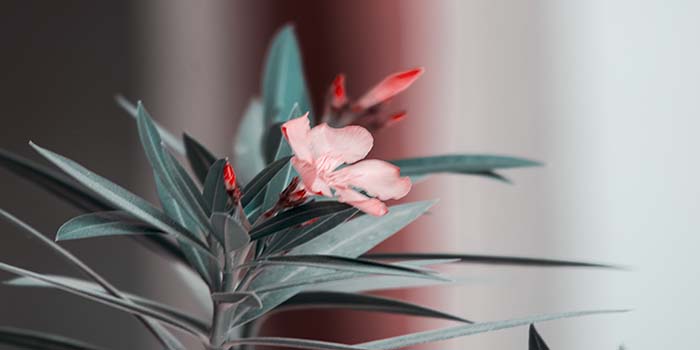
Image 1
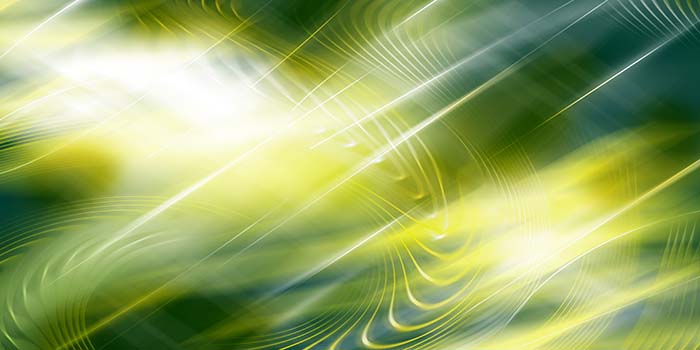
Image 2
The flower image is on background layer and the light texture on layer 1. I changed the blend mode of Layer 1 to overlay and here is the final result.
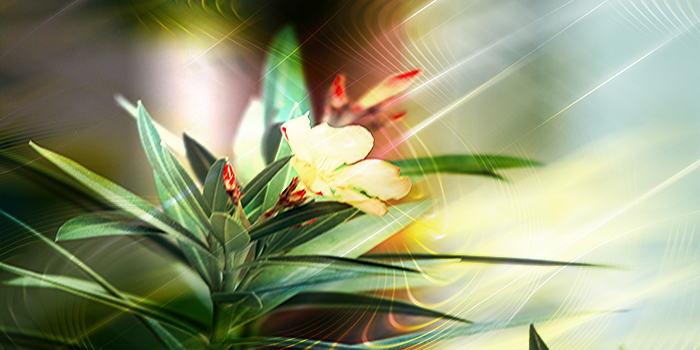
After applying overlay blending mode
This sums up our tutorial on overlay blending mode. In the next tutorial, we will move to the next blending mode in contrast category, known as soft light.