
This article is a continuation of the previous article that explains the multiply blending mode. Before continuing any further, I strongly suggest that you read that article first. If you already have the knowledge of multiply blend mode, adding layers, changing blend modes, you can carry on reading further.
I, like many other people, learnt Photoshop all on my own. I would spend hours reading articles over the web and tying things in Photoshop. When I started with the blend modes, everything till multiply mode made sense and was fairly easy to understand but I really had a tough time understanding the color burn and liner burn mode. Everything I read about these modes on the internet sounded like in an alien language. It is defined on the official Photoshop site as following,
“Looks at the color information in each channel and darkens the base color to reflect the blend color by increasing the contrast between the two. Blending with white produces no change.”
As per the definition on Wikipedia site, “The Color Burn mode divides the inverted bottom layer by the top layer, and then inverts the result. This darkens the top layer increasing the contrast to reflect the color of the bottom layer. The darker the bottom layer, the more its color is used. Blending with white produces no difference. When top layer contains a homogeneous color, this effect is equivalent to changing the black point to the inverted color. The operation is not invertible due to possible clipping of shadows. The clipping happens in the same area as for the Linear Burn.”
Say what? Exactly, that was my reaction too. Ironically enough, most of the other pages I came across to either had the same definition copy pasted or rephrased, but the definition provided was more or less on the same note. Now for a complete beginner that I was, it made no sense at all. It was like no one bothered to define this mode in simple words. Finally after spending some time trying different colors and layers on multiple images, I managed to figure out what exactly was happening when this blending mode was applied. In very simple words, the color burn mode works pretty much the same way as the multiply blend mode, which is that it multiplies the colors of the blend layer with the layer beneath it. The result however is much more intense with the color burn mode and sometimes even harsh. It may even be incorrect to say that it “multiplies” the color because that would be an underestimate. Color burns really burns the blend color of the two layers into each other. The most important thing to know with this blend mode however is it increases the contrast to darken the base color while reflecting the blend color. It means that the stress is on the colors of base layer, those are the ones that get darkened while blending in colors of the blend layer which kind of produces a tinted image.
Another difference between these modes lies in the fact that the color burn mode also boosts up the contrast and produces even darker colors. The problem with this mode however is that it also increases the color saturation and I believe this is the reason why it is not really that popular or used often. Colors of the blend layer will be blended with colors of the layer below it to produce even a darker color, saturation goes up along with the contrast levels and result is not always pretty. Important thing to know is that with color burn, stress is on the layer beneath the blend layer. The darker the bottom layer, the more its color is used. Blending with white will produce no results, which means that white will remain white, no matter which layer it is on.
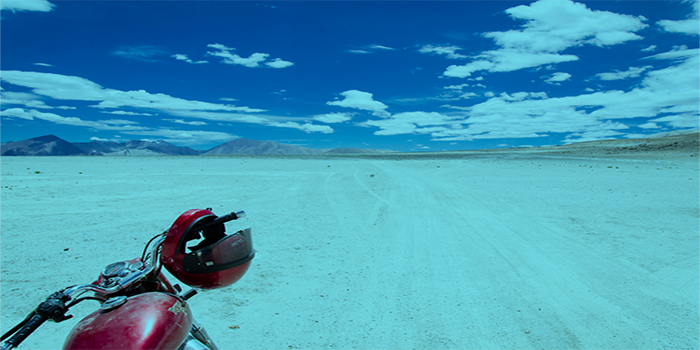
I have the following image open in Photoshop.

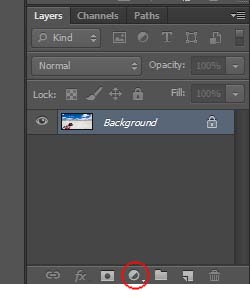
Let us add a solid color layer on top of it. Click on “create a new adjustment layer” icon in the layers panel.
Select solid color from the list.

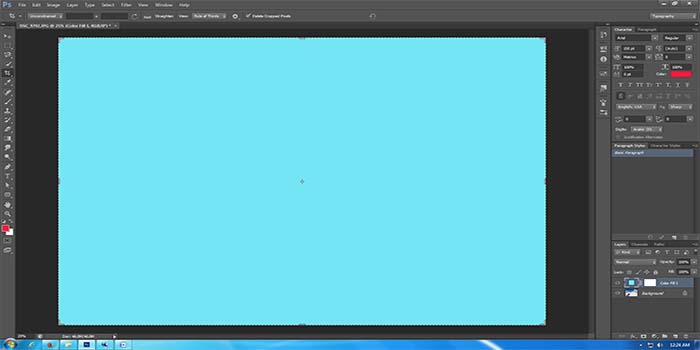
I will choose a light shade of blue. Make the color selection and click OK to close the color picker box.

Photoshop will add a color fill layer on top of our background layer.
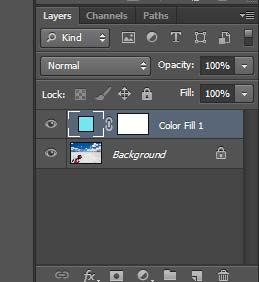
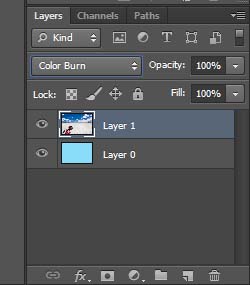
Since the blend mode of Layer 1 is still Normal, as highlighted above, the background layer is completely hidden and I can only see the blue layer on my screen.
Now let us first change the blend mode to multiply and see what happens.
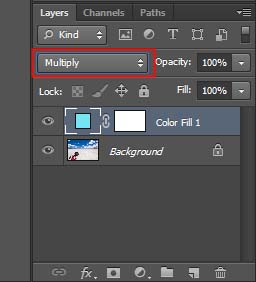
You will notice that changing the blend mode to multiply just added a blue layer on the image. Image right now looks a little dull, details of the background layer are a little hidden under the blue layer and the overall effect is not really that great. It feels as if we are looking at the picture with blue shades on. Now let us change the blend mode to color burn.
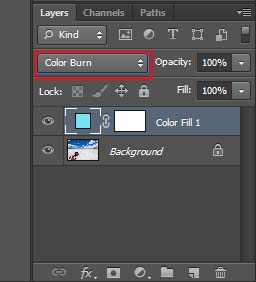
Notice how the blue color got burnt into the image. It now longer looks like a blue sheet on the image but the color really got mixed with the layer blue giving it an overall blue tint, even the sand looks like it has something blue sprayed on it. Another important thing to notice here is how the contrast got boosted to highlight the details of the background layer. However, as I mentioned above, this color mode also boosts up the saturation which I believe is to help with the contrast, but the result is still a little harsh. Let us correct that. Once again, click on the “create a new adjustment layer icon in the layers panel”.
Select hue/saturation from the list populated. [If you have been following these tutorials from the start, I know we haven’t yet covered the hue/saturation layers yet but for now just add a layer to follow the steps. We will look into this layer in more details in later tutorials]
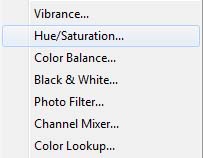
Photoshop will add a hue/saturation layer on top of our color fill layer.
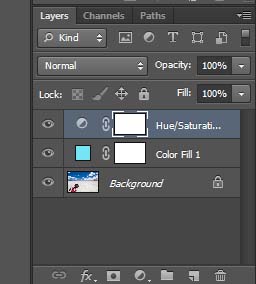
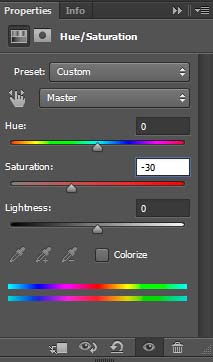
It will also bring out the fly menu where we can change the saturation levels. I will set mine to -30 since we want to reduce the saturation.
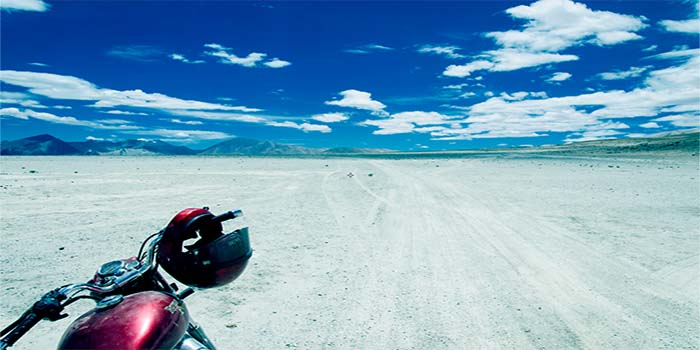
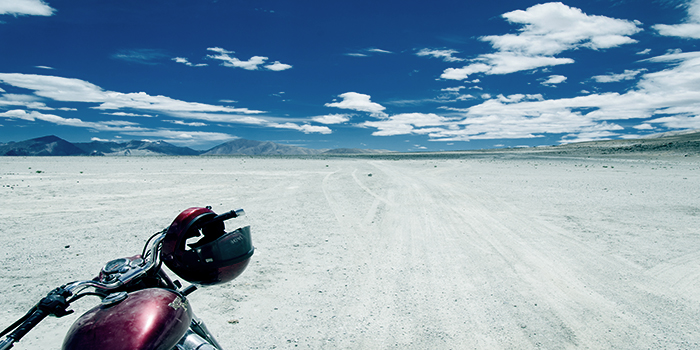
And here is the overall effect.
Now the fun fact. As I mentioned above, the stress with this mode is on the colors of the base layer, those are the ones that get darkened as it happened in the example above. The contrast of the picture with motorcycle went up, it darkened while the blue of the blend layer created a tint in it. But what if the blue layer was the base layer and we changed the mode of the motorcycle image? Let us see what happens. I again opened both the images in Photoshop but this time, the blue document is my base layer and the image sits on top of it.
I changed the blend mode of my image to Color Burn and here is the result.
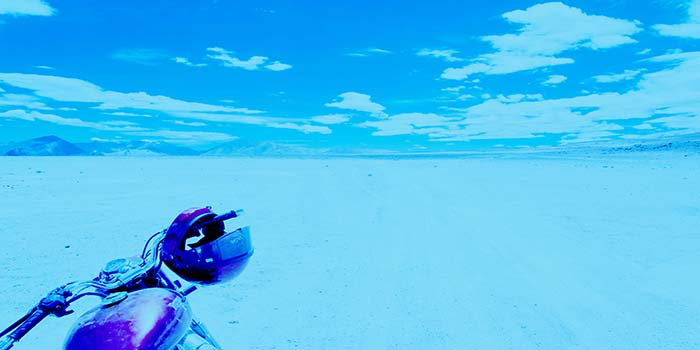
Notice how it reversed the entire effect. First my image was the base layer so the stress was on its colors. Contrast was increased to make the colors of the image darker while blue blended in it. But now, when I made the blue document as the base layer, stress was no longer on my image. Photoshop increased the contrast to keep the blue more darker and visible while blending in the colors of my image.
You will not really find much use of color burn mode in your day to day editing work, most of the times you will end up using the Multiply blend mode in the darken category. I use the color burn mode especially with textures or if I want to add a slight color tint to my old black and white images. I will post one for comparison.
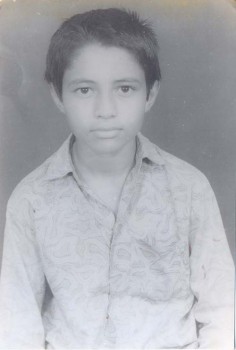
Original Image
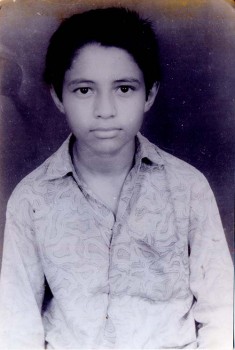
After applying color burn
First one is the original image. Second one is after applying a color fill layer and changing blend mode to color burn.
In the next tutorial, we will understand the linear burn which is just a slightly altered version of color burn blending mode.