“Dissolve” is perhaps one of the least used Blending modes of Photoshop as most people rarely find a use for it. I have known people who have been using Photoshop for years and yet have never used dissolve blending mode even once. Even though I have used this blending mode a few times but to be quite honest, it was just once in a blue moon. Some other blending modes like overlay, screen and multiple are considered as important and get used most of the time but dissolve is something that people tend to stay away from. In this tutorial, we will look at this black sheep of the blending modes.
First a quick recap of what we know so far about blend modes. We know that a Blend mode affects how a layer blends with the layers below. Depending on which blending mode we choose Photoshop will compare two layers and apply changes accordingly. We also know that in order to apply a blend mode, we got to have a document with at least two layers. These layers can be completely different or duplicate of each other. Lastly, we learnt that even though Photoshop has a long list of Blend modes, these can be categorized in 6 different groups and all the modes in a group create a similar kind of effect. The first two blend modes, normal and dissolve, are grouped together but they actually have nothing to do with one another. It wouldn’t be incorrect if we called the first group of blend modes simply as “Uncategorized”.
Someone once told me that he did not quite understand how dissolve blending mode works or what does it exactly do. This indeed surprised me a lot because in my opinion, it is one of the most easily understood blending modes. Let’s first take a look at some of the “official” definitions.
Adobe Photoshop explains the function of dissolve mode as “edits or paints each pixel to make it the result color. However, the result color is a random replacement of the pixels with the base color or the blend color, depending on the opacity at any pixel location.”
Confused? So was I when I first read it. Let us look at another explanation.
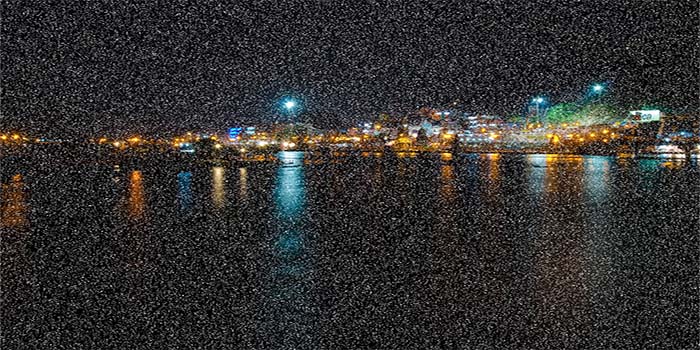
The way dissolve mode works is that it applies the blend color to the base image in a random pattern of specks. This pattern depends on the opacity of the blend layer meaning that they are denser in area where the blend layer is more opaque and sparser in areas where the blend layer is more transparent. So if the blend layer is 100% opaque, the dissolve mode would look just like the normal blending mode.
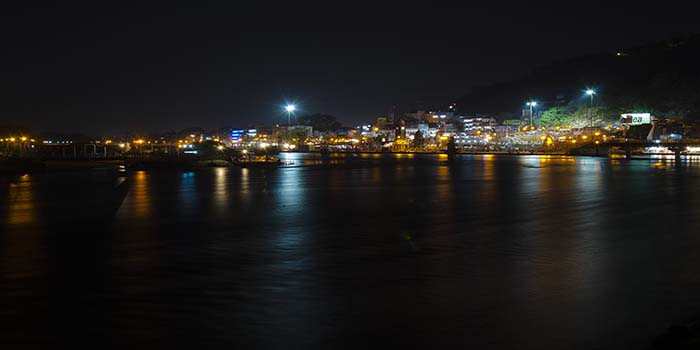
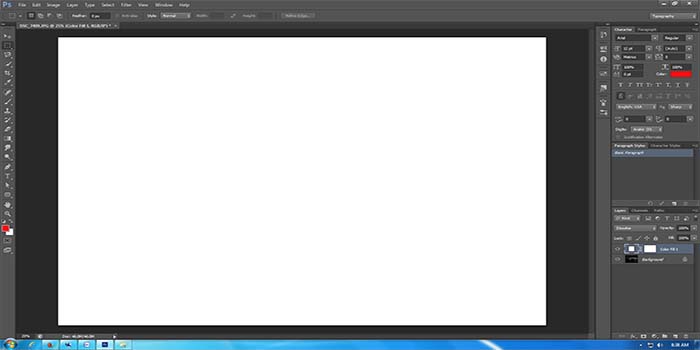
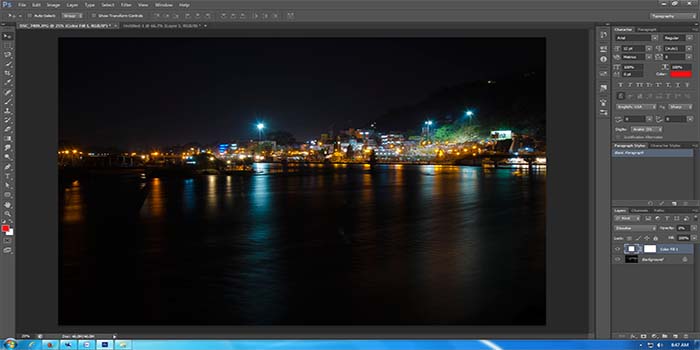
Made sense? No? Let me try explaining again. I have the following image open in Photoshop.
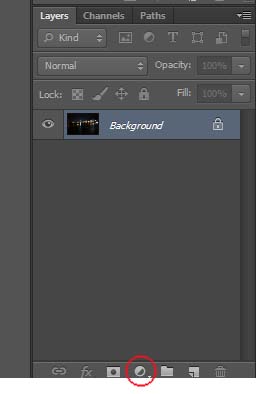
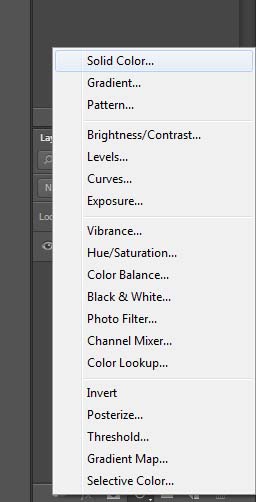
Let’s add a solid color adjustment layer to this image. Go to the Layers Panel and click on “create new adjustment layer” and select solid color from the list.
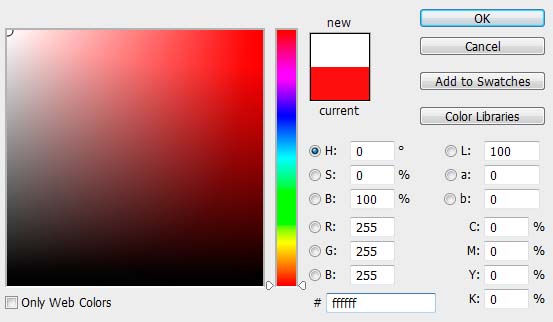
Photoshop will open the color picker box. Select white color for the fill.
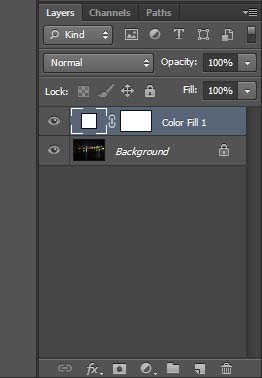
Click OK to close the color picker box and Photoshop will add a white fill adjustment layer on top of the background layer.
Since it is a solid color layer with 100% opacity, our background layer is completely hidden under it. If you look at the layers panel, we now have two layers. One is our background layer and other one is the color fill.
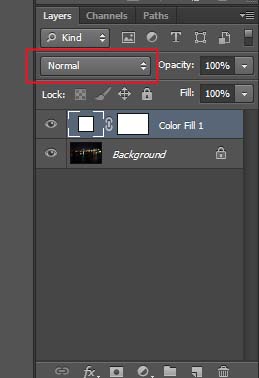
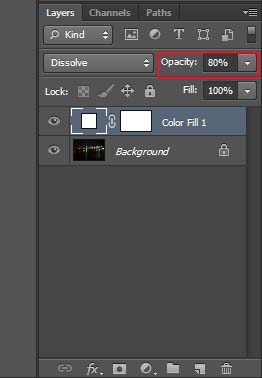
Your color fill layer should be the active one right now but if for some reason it is not, click on it once and it should get highlighted as in the image above, making it the active layer. Now let us change the blend mode of our color fill layer to dissolve. Click on the Blend mode field once.
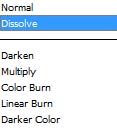
Select dissolve from the list.
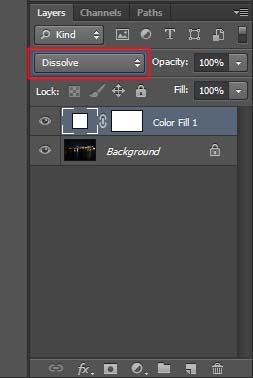
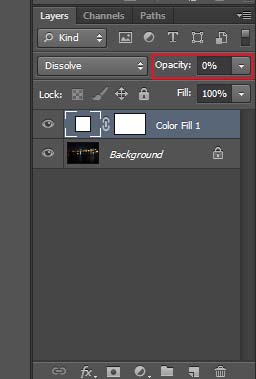
This will change the blending mode of color fill layer from normal to dissolve.
You will notice that even after doing this, nothing changed on the screen. Our color fill layer is still on top and background layer is still hidden under it.
Go to the layers panel once again, make sure that the color fill layer is highlighted, click on it once if it isn’t, and then reduce the opacity of the layer to 80%.
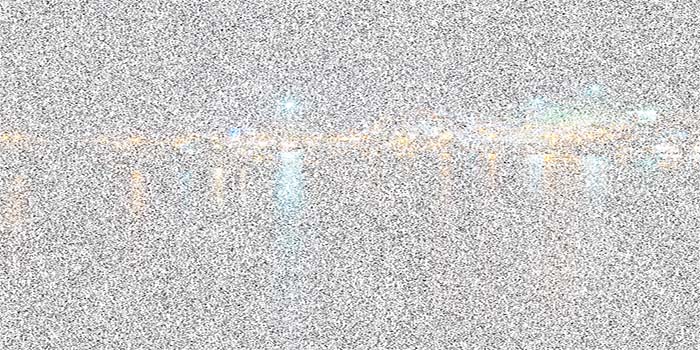
You will notice that our white fill layer starts to become transparent and the background layer will start to appear.
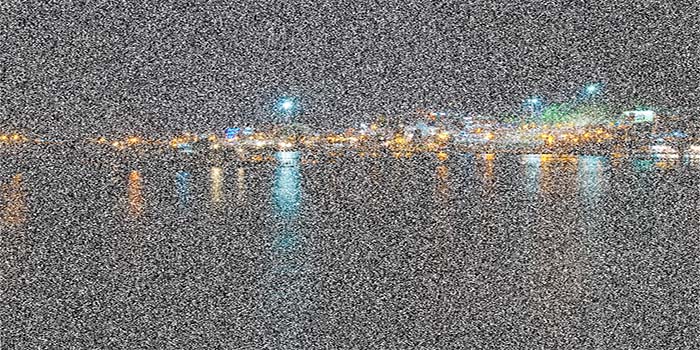
I reduce the opacity to 40%, then to 20% and my color layer becomes more transparent and the background layer becomes more visible.
At 40$ Opacity
At 20% Opacity
At 0% opacity, my color fill layer is completely transparent and background layer fully visible.
It is kind of hard to explain this effect in words really but let me try to give words to it. What happened here is as I reduced the opacity of my color fill layer, it started to become transparent but the transition was not smooth. Photoshop started to randomly select pixels to make them completely transparent or completely opaque. This is the effect that dissolve blending mode creates. It dissolves the two layers together in a very rough and random manner. Imagine yourself with two buckets of paint, one red and another one white. Now let us say that you emptied both the buckets in a third bucket. As the red and white paints dissolve into each other, right before they completely mix into each other to form a different color, you will see a mix of red and white in the bucket. Some areas of the liquid will be white and some red. I know this is a very weird example but this is how the dissolve mode works. As you move the opacity of the adjustment layer, the pixels you see will be selected from both the layers in a random manner. Some pixels will be of the adjustment layer and some from the layer beneath it. When the opacity is towards a lower number, the pixel selection will be more from the layer beneath and when the opacity is towards a high end number, pixels visible will be more from the adjustment layer. The pixels that are transparent will be 100% transparent and the opaque pixels will be 100% opaque. The meaning of Opacity in this case does not mean the Opacity of all the pixels, it rather applies to pixel count. Here it changes to “what percentage of total pixels should be completely transparent and what percentage should be completely opaque”.
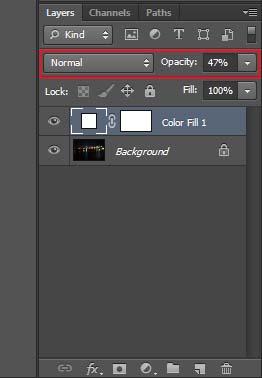
Now let us quickly do a comparison. Change the Blend mode of the color fill layer back to normal.
Now try reducing or increasing the opacity of the color fill layer and you will notice that it becomes transparent in a very smooth and organized kind of manner.
In this case, the transparent level of all the pixels was changing at the same percentage that we set in the opacity field. There was no random selection, the effect was applied to all the pixels. The meaning of Opacity in this case applies to the transparency of all the pixels, how transparent or opaque they should be on a scale of 1 to 100 whereas in dissolve mode, it was getting applied to pixel count and transparency was set at either 0% or 100%.
I hope this helps clarify the dissolve blending mode. If you have any question, please feel free to comment.

