
The next blend mode in the contrast category that we are going to cover in this tutorial is vivid light.
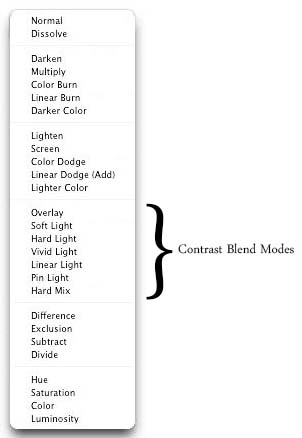
Interestingly enough, this blend mode also functions pretty much same as the two previous modes listed in contrast category. Like soft light and hard light, vivid light also will create a brighter or darker impact on the image depending on the brightness of the blend color. It blends the base and the blend color in a way that if the blend color is lighter than 50% grey than the base image will be dodged (lightened) and if the blend color is darker than 50% grey, the image will be burned (darkened). Areas where the blend color is 50% grey will not get affected. Blending with pure black will result in pure black and pure white will result in pure white. However if the color is any other than black or white, the result will be a tinted image depending on what color you chose. So how is vivid light blending mode different? The difference between these three modes is in the intensity level. Soft light produces the mildest effect while vivid light leaves a very harsh impact.
As per the Photoshop help site, “Vivid Light burns or dodges the colors by increasing or decreasing the contrast, depending on the blend color. If the blend color (light source) is lighter than 50% gray, the image is lightened by decreasing the contrast. If the blend color is darker than 50% gray, the image is darkened by increasing the contrast.”
In all my years of using Photoshop, I have never even once come across a situation where I used the vivid light blending mode. I would rather use the soft light blending mode and then duplicate layer again to achieve the desired result rather than going for the vivid light blending mode. Reason behind this is that the results with this blend mode are way more harsh and intense and it saturates the color way too much. I read somewhere that one practical use for the Vivid Light blend mode is to add a punch of color to a dull photo by duplicating the image in a new layer, setting the blend mode to vivid Light, and lowering the opacity to achieve the desired result. It can also be used to create more dramatic lighting in a scene. I tried doing this but did not like the results at all. So for me, this is one of my never use blending modes.
Keeping the tutorial short let me explain with the help of an example what effect vivid light has on an image. We will use the following two images that we also used in the soft light and hard light tutorials.
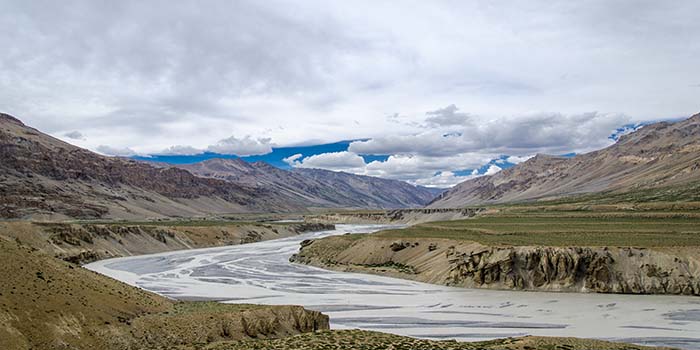
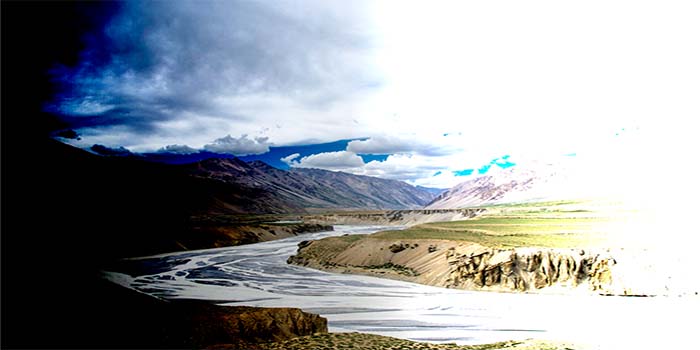
Image 1

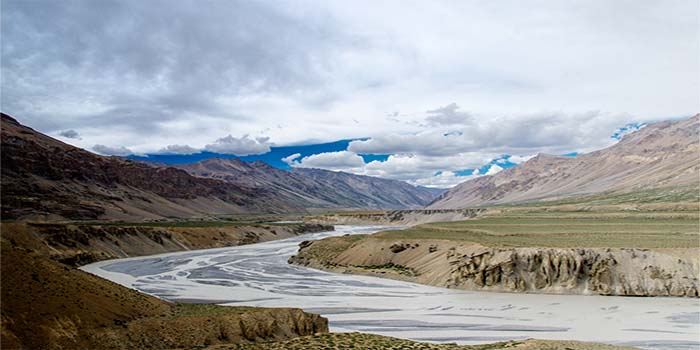
Image 2
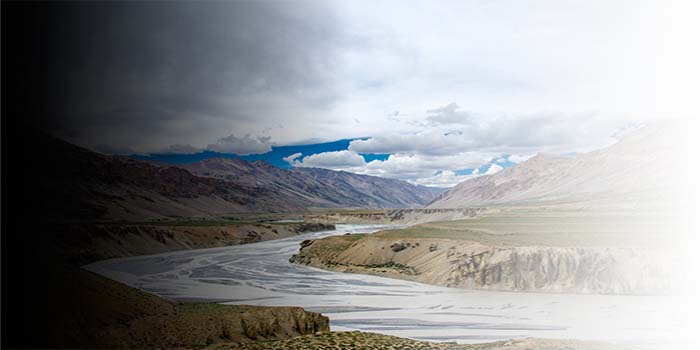
Keeping the image as background and gradient as layer 1, I changed the blending modes first to soft light, then hard light and finally to vivid light. I will post all three images for comparison.
After applying soft light blending mode
After applying hard light blending mode
After applying vivid light blending mode
As you can see, the impact is pretty much the same. Light colors got lighter, dark colors got darker and contrast was increased. The only difference between these modes lays in the intensity of the effect. This effect comes from blending of the gradient with the image. Since the gradient on the far left was pure black and then transitioned to white from black towards the right, far right being pure white; our image also darkened or brightened in the same pattern.
And that is pretty much all that you need to know about the vivid light blending mode. I have never used it and doubt that you will ever find a need for it as well. In the next tutorial, we will cover the Linear light blending mode.