
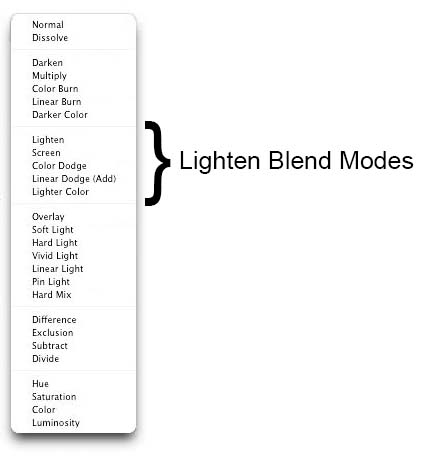
Photoshop, as we have learnt so far, categorizes all its blend modes into six different groups. The criteria for this categorization are the effect that a blend mode will have on the image. All the modes in a particular category will have a similar kind of impact when applied.
The first category is known as “Default Modes” but in fact is really an uncategorized group. Reason being is that both the modes in this category, Normal and Dissolve, neither fit in any other group nor are related to each other in any way and this is the reason why these two are put together separately.
Second category “Darken” comprises of all the modes which will have a darkening impact on the image as we have learnt in our previous tutorials.
Third category that we are going to learn now is known as “Lighten”. As the name suggests, all the blend modes listed in this category result in lightening or brightening the image in their own unique way which we will understand as we look at the blend modes one by one. This entire category can actually be called an exact opposite of the darken category and so are all the blend modes listed in it.
In this tutorial, we are going to look at the first blend mode in Lighten category which also goes by the name of Lighten. This mode is an exact opposite of the Darken mode that we reviewed in our earlier tutorials. When you change the mode of a layer to Lighten, Photoshop will compare the pixels of the blend layer with the pixels of the layers beneath it and will display the pixels that are lighter in color tone. As per the definition listed on Photoshop help site, “Lighten mode looks at the color information in each channel and selects the base or blend color—whichever is lighter—as the result color. Pixels darker than the blend color are replaced, and pixels lighter than the blend color do not change.” Let us take a look at couple of images for better understanding.
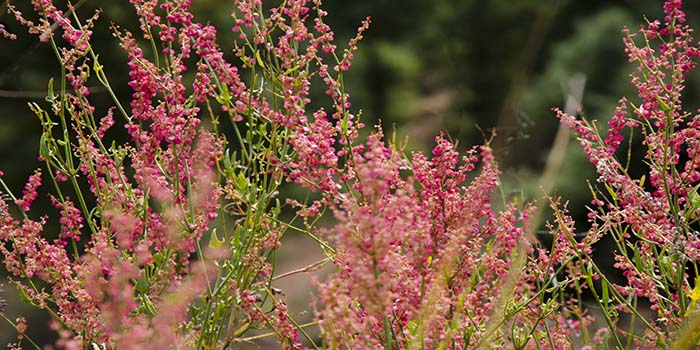
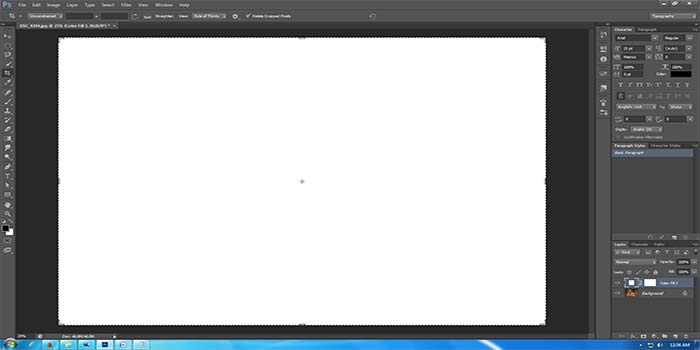
I have the following image open in Photoshop.
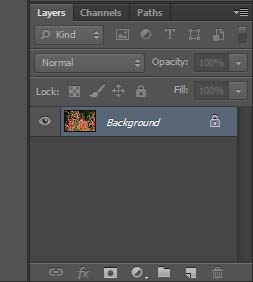
My layers panel currently just has the background layer on which this image sits.
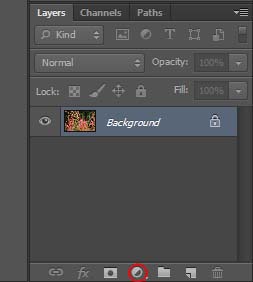
Let us add a solid color adjust layer on top of this. Click on the “create new fill or adjustment layer” icon in the layers panel and select solid color.
Photoshop will open the color picker box. I will select the white color.

Click OK to close the color picker box and Photoshop will add a white solid color layer on top of our background layer.

Since the blend mode for this layer is still normal, the fill layer is currently blocking our background layer and all we see is the white color.
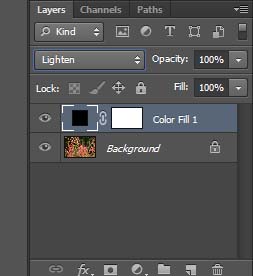
Your color fill layer should currently be active but if in case it is not, highlight it by clicking on it once and change the blend mode to “Lighten”.
Even after changing the blend mode, you will notice that nothing changed and we still have the white color fill layer blocking the background layer. Why? Because when we changed the mode to lighten, Photoshop compared the pixels of both of our layers and displayed the ones that were lighter in tone. Now since White is the lightest color tone, it completely blocked all other pixels of our background layer and we can still only see white.
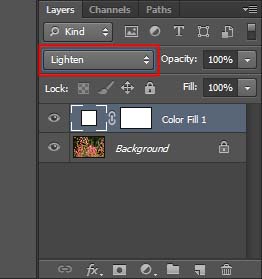
Let us try a different color for our fill layer. First of all, we got to delete the white fill layer that we currently have added. In order to do so, right click on the fill layer and select “delete layer”. This will remove the color fill layer and we once again would be left with our background layer in the layers panel. Now repeating the same steps as above, add another solid color fill layer but this time select a black color from the color picker box. Photoshop will add a black color fill layer in the layers panel. Now click on the modes tab and change the mode of the black layer to Lighten.
This time, after changing the blend mode, the black color fill layer would become invisible and we will have the background layer on display again. Why? You guessed it right. Because Photoshop compared the pixels of both layers and since Black is the darkest color tone, it was completely replaced or removed from the display.
Now let us see how we can use this blend mode a little creatively. I will open the following two images in Photoshop.

Both these images are open on the same document, on top of one another. My layers panel shows two layers currently, the flower image as my background layer and the other one on Layer 1. Making sure that Layer 1 is selected, I changed the blend mode to Lighten and reduced Opacity to 50%.

And this is the result.

Photoshop compared both my layers and displayed the pixels that were lighter in color tone so now I have some pixels visible from background layer and some from Layer 1 and hence a mix of both.
One thing to remember however is that lighten blend mode doesn’t work when you duplicate a layer and then change the Blend Mode to lighten. This is because each pixel of base layer and the blend layer would be exactly same. So there would be no darker or brighter pixel.
And that is pretty much all about the lighten mode. It can be used effectively for creating double exposure images something that we will learn in later tutorials. If you have any questions, please feel free to comment.