
In the previous tutorial, we had our first look at the Layers Panel. We learnt to read through the information available in the middle section of the Layers Panel and also to create, rename, group, move and delete the layers. In this tutorial, we will look at the various functions available to us in the bottom section of Layers panel and learn how we can use them to enhance or manipulate images.
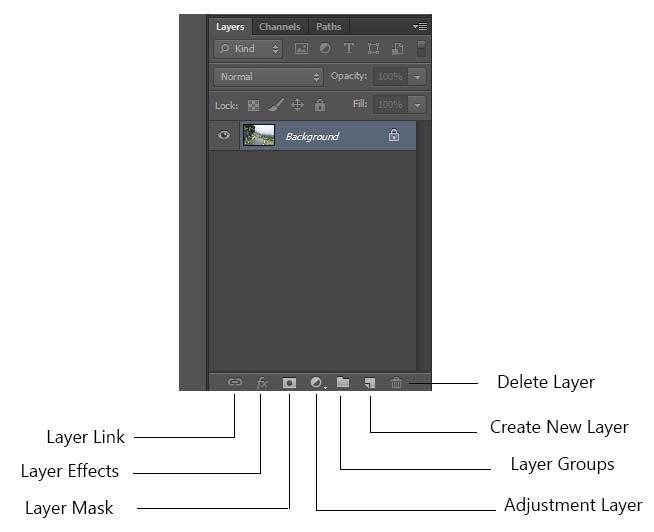
Starting from the right, the first three functions at the bottom of the panel are to delete, create and group layers, same thing that we covered in our previous tutorial. We will continue working through the list and the next available option is of the adjustment layers.
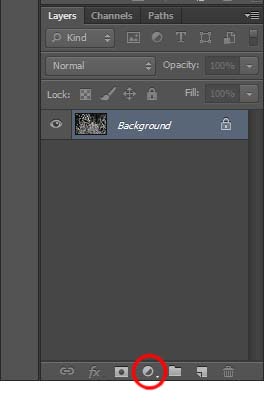
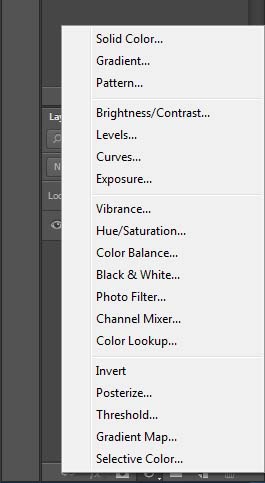
The word “Adjustment” here simply refers to various adjustments we can make to our images to make them look better. Click on the highlighted icon and Photoshop will display a list of all the adjustments that we have available. We will go through these one by one.
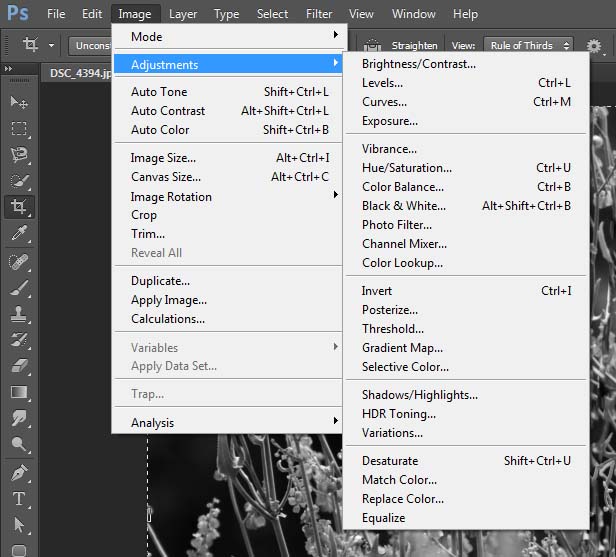
Another place that we can access these adjustments from is the Image menu at the top of your screen.
There is however a huge difference in accessing these adjustments from the Layers panel and Image menu. Any change that we make through the image menu is known as to be “destructive” whereas if we made the same change through the adjustment layers, it would be “non-destructive”. How? Let us understand with the help of an example.
I have the following image open in Photoshop.
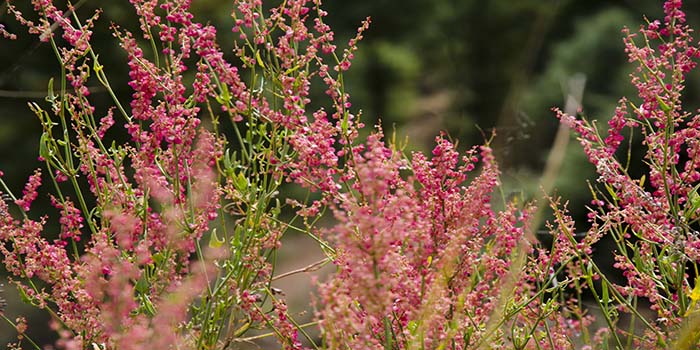
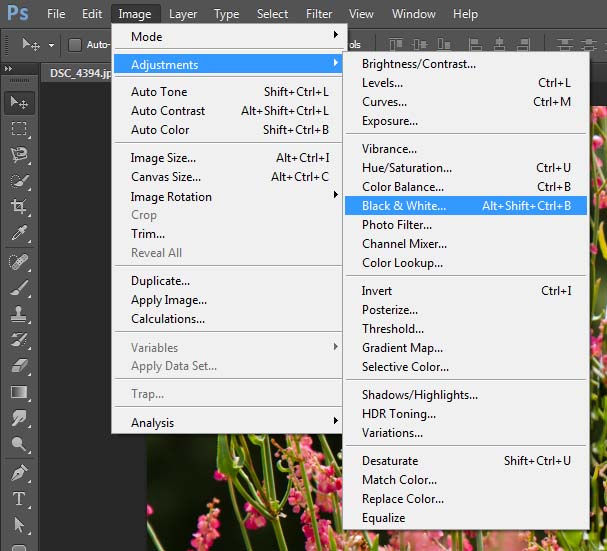
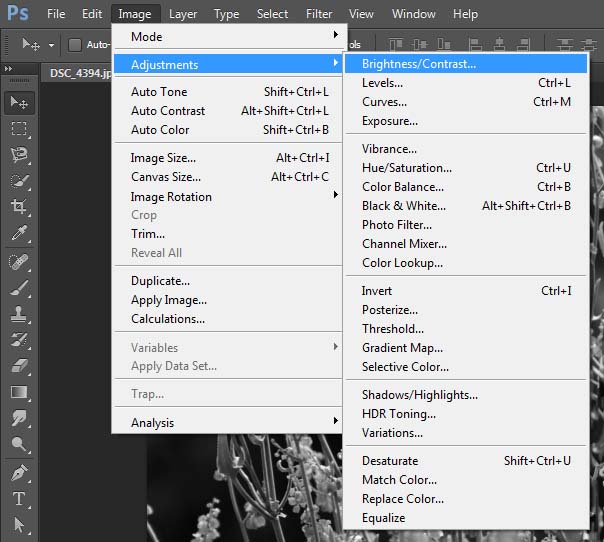
This tutorial assumes that you are just starting to learn Photoshop and have very little knowledge of curves, levels or hue and saturation. So I am going to make a couple of adjustments that would be simple, easy to understand and follow for even an absolute beginner. Let us say that I want to convert this image into Black and White. I can do so both through the Image menu or using the adjustment layers. Let us try the image menu first. Go to Image, then adjustments and click on Black and White.
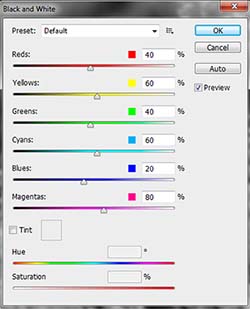
Click OK without making any changes in the Black and White Dialog box which means that we are letting Photoshop decide what shades of Black and White would be best for our image.
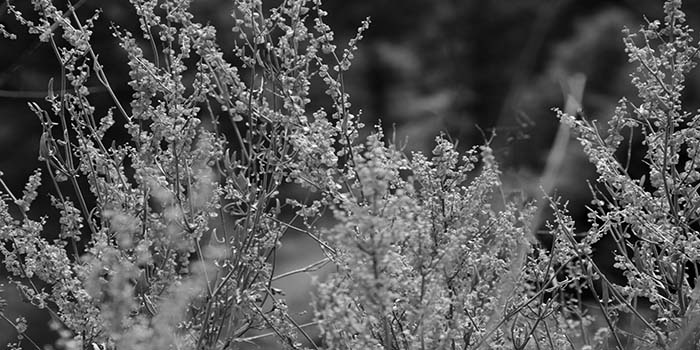
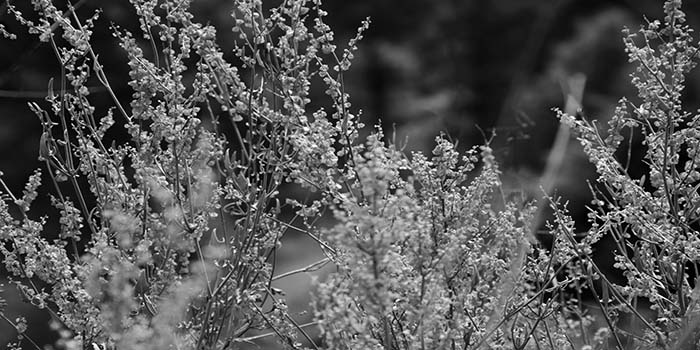
This will turn our image into Black and White.
OK now we both know that it isn’t really looking that good as I imagined as it would. Maybe a little bit of contrast would help. Let’s try that. Once again go to Image, Adjustments and click on Brightness/Contrast.
Photoshop will open the Brightness/Contrast dialog box. I will change the values in Contrast field to 25 to really boost up the contrast.
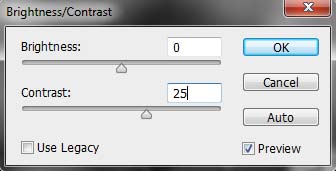
And here is the result so far.
If you look at the Layers panel, you will notice that there is just one background Layer as of now which means that whatever change we just made was directly on the image.

This is the reason why this kind of adjustment is called destructive. Not that it corrupts or destroys your image any ways but it makes permanent changes directly to the image. When I turned this image into Black and White, those colors were gone. Every time I make a change going through the image menu, I will be throwing away some piece of information, some pixels from the image and that information will be gone for good.
Now I know what you are thinking. This doesn’t seem like a big deal right now. All we need to do is close the image and reopen it. Or maybe click on “Revert” in “File” menu and it will be reverted back to its original state. But think about this. What if you were also saving the image while making the changes and did not have another copy of it? This was just a two step example but what if we worked on an image for a couple of hours to realize that we messed up one of the initial steps? Since we kept overwriting all our adjustments on top of each other, there is no way to go back and edit, the only thing to do will be to start all over again. If you make an adjustment using the regular adjustment tools, the changes are permanent and can’t be undone without winding back all the changes you’ve made since. Imagine this; suppose you painted your house only to realize that after you moved in the furniture, the color didn’t look that great. What do you do then, move out all the furniture and repaint the entire house? Wouldn’t it be nice if we could somehow know how the final picture would look before we started painting? This is where the concept of adjustment layers comes to rescue.
Let us run through the same steps once again but this time using the adjustment layers. I will open the same image again in Photoshop, the colored one I mean, and click on “New Adjustment Layer” in my Layers Panel.
This will bring out a fly menu with a list of adjustments. Click on Black and White.
The Image will turn into Black and White and a new fly menu will appear.
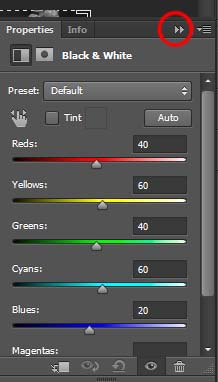
Do not make any changes to the fly menu and minimize it using the minimize button as highlighted in the image above. Once again our Image is Black and White but what is different this time is that the effect is on an adjustment layer. Take a look at the Layers Panel.
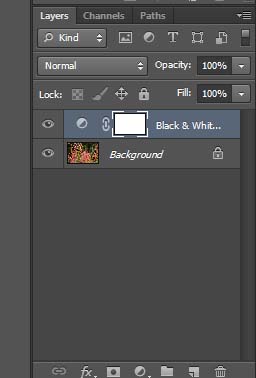
There are two layers in our Layers panel now. Our original image sits on the background layer and the Black and White effect is on an entirely separate layer. If I turned off the visibility of the Black and White Layer, I would still be able to see my original image.
When we initially made the adjustment through the image menu, our Photo itself got converted to Black and White causing some permanent loss of image information. With adjustment layers, the image remains unharmed. No pixels are ever touched. Even though we are still seeing the same Black and White effect, our original image remains as it was before. If I do not want to convert it anymore, all I need to do is to just delete the Black and White layer.
But this is not all. This is not the only reason why you should work through adjustment layers. Another critical reason is the editing flexibility that it provides. When we make a change through the standard adjustments from Image menu, there is no way we can make alterations to that effect. Some image information is lost and we are left to work with the rest. Like in our first example, we left it for Photoshop to decide what kind of Black and White effect was best for our image. But what if I wanted to go black later and increase the whites a little bit? I could not do that but adjustment layers provide us with that option, something that we would be covering in our later tutorials as we run through the adjustment layers one by one. Because the adjustment or effect actually resides on a layer, you can edit, delete, duplicate, merge, or rearrange the adjustment layer at any time. None of this harms your image because it takes place above the image on an adjustment layer. Imagine being able to undo, remove, or alter an adjustment such as levels at any time without losing all your subsequent work. This is what the adjustment layers are all about.
If you have any questions / suggestions, please feel free to comment.