
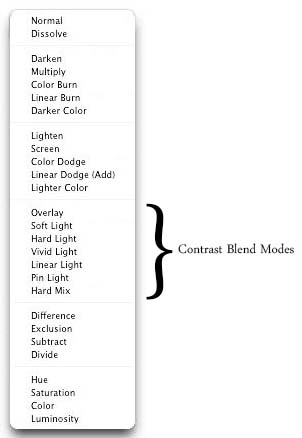
In this tutorial, we are going to learn about the hard mix blending mode which is also the last mode in the contrast category.
If one was to make a list of most obsolete and never used blend modes of Photoshop, hard mix would probably be at the number 1 spot. I initially thought to skip this mode altogether but then decided to post a tutorial anyways. In the previous tutorials, we came across some modes that produced really harsh and intense results but with hard mix, the results go to the level of being ugly. As a photographer and for your day to day editing work, you won’t even touch it unless you were in for some really weird looking designer work effects.
OK enough with my cribbing about the effects of hard mix. Let us quickly jump on to define what exactly hard mix blend is and how does it work? Per the Photoshop help site,
“Hard Mix adds the red, green and blue channel values of the blend color to the RGB values of the base color. If the resulting sum for a channel is 255 or greater, it receives a value of 255; if less than 255, a value of 0. Therefore, all blended pixels have red, green, and blue channel values of either 0 or 255. This changes all pixels to primary additive colors (red, green, or blue), white, or black.”
Yes I know, that sounds a little mathematical but do not worry. We are not going to jump into all that. Keeping it very simple, all that you really need to know is that when you blend in a layer using the hard mix mode, the result would be an image that only has either pure black or white pixels or the deepest shade of red, green, blue, cyan, yellow and magenta. There is no gradual change and no grey or light shades. Your image will change dramatically and each pixel will turn into the darkest shade of any of the eight colors (black, white, red, green, blue, cyan, magenta, and yellow pixels).
For example, I have the following image open in Photoshop.
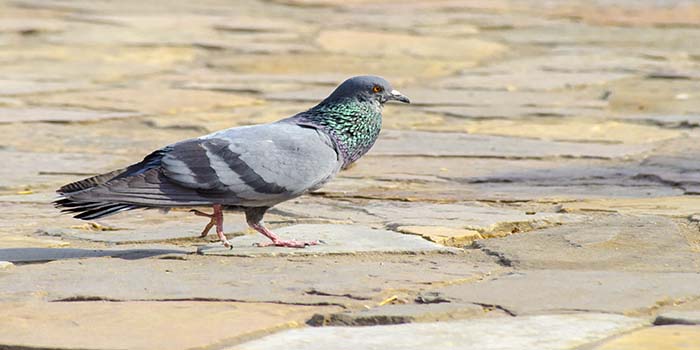
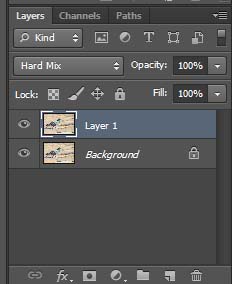
Pressing Ctrl + J on my keyboard, I created a duplicate of my background layer and changed its blend mode to hard mix.
And here is the result. Ugly, right?
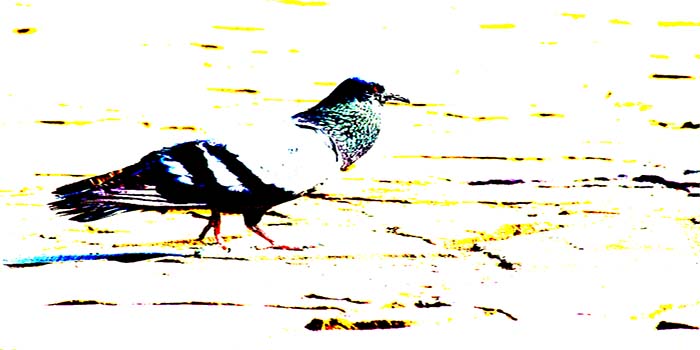
Notice how the image now has either black or white pixels or the deepest shade of the other five colors. All the lighter shades are gone. There is an intense boost in contrast as well. There is no gentle touch, no gradual change. It acts like color burn blend mode, but there are no gradients or gradual changes in color. Notice that the white areas show as pure white, but the dark areas are all burned, with a very high amount of contrast.
As I said, this blend mode is quite useless unless you were in for some really weird special effects in a designing project.
And that finishes up our tutorials for the blend modes in contrast category. In the next tutorial, we will move on to the next category of blend modes which is known as comparative and also as Inversion.
2 comments
I have a suggestion for an interesting use for hard mix blend mode: making custom halftones
https://www.youtube.com/watch?v=NCpoUes8o_4
Thank you Joseph