
In the previous tutorial, we learnt what impact a soft light blending mode creates on an image. The next few blend modes in the contrast category more and less work in the same manner with a very small difference due. Let us look at our next blend mode, Hard Light.
As per the Photoshop help site, this blend mode “Multiplies or screens the colors, depending on the blend color. The effect is similar to shining a harsh spotlight on the image. If the blend color (light source) is lighter than 50% gray, the image is lightened, as if it were screened. This is useful for adding highlights to an image. If the blend color is darker than 50% gray, the image is darkened, as if it were multiplied. This is useful for adding shadows to an image. Painting with pure black or white results in pure black or white.”
What it necessarily means, in simple words, is that the hard light blend mode will create a brighter or darker impact on the image depending on the brightness or darkness of the blend color. It blends the base and the blend color in a way that if the blend color is lighter than 50% grey than the base image will be lightened and if the blend color is darker than 50% grey, the image will be darkened. Areas where the blend color is 50% grey will not get affected. Important thing to remember with this mode is that if the blend color is pure black, the bending will result in pure black, and if the blend color is pure white, result will be pure white. However if the color is any other than black or white, the result will be a tinted image depending on what color you chose.
So what makes hard light different than soft light? The very name actually tells us the difference. The soft light blend mode creates this impact in a very soft manner while the results with the hard light blending mode are much intense, sometimes even harsh. Another difference lays in the fact that the harsh light also boosts us the contrast in our base image. Let us understand with the help of an example. I will use the following two images that I also used in our previous tutorial on soft light blend mode.
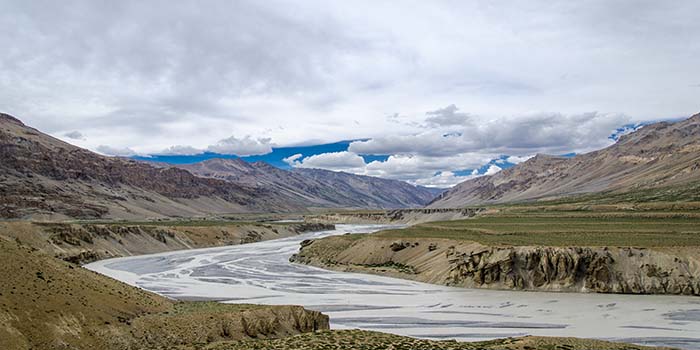
Image 1

Image 2
The first one is a photograph I clicked using my Nikon D7000. Second one is a simple gradient document; far left end of which is pure black and then it slowly transitions from black to white towards the right, far right being pure white. I have both these documents open in Photoshop. My image is currently on background layer while the gradient document is on top of it as Layer 1. Blend mode as of now is normal which means no blending at all.
We have learnt so far that the definition of soft light and hard light is almost the same and only varies on the scale of intensity so let us apply both blend modes one by one. I will post both images for comparison.
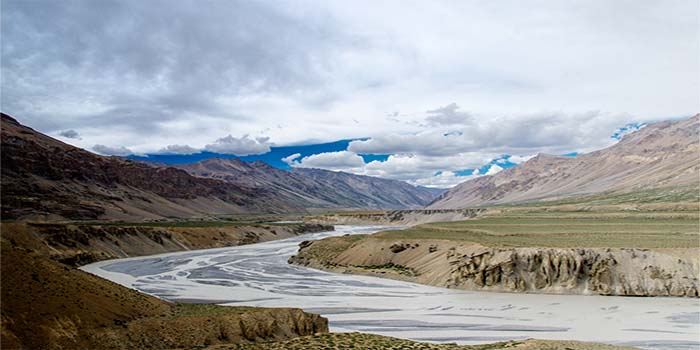
After applying soft light blending mode
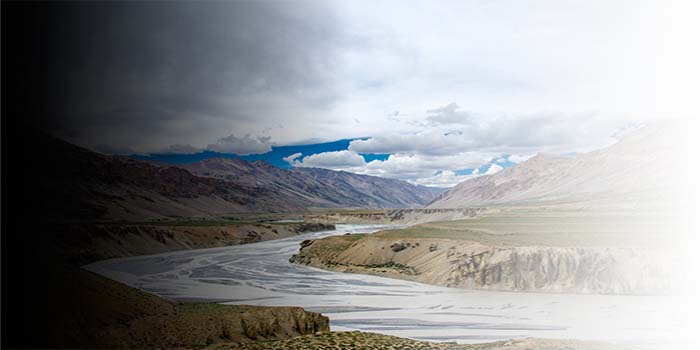
After applying the hard light blending mode
The first image shows the impact of soft light blend mode and the second one of hard light. Notice how when we applied hard light, the extreme left of the image turned into a pure black and the extreme right to pure white, in accordance to the blend layer whereas the results were much softer with soft light. In the center where our gradient was 50% gray, image did not change at all, except for slight increase in contrast.
Hard light is another one of rarely used blend modes. Even though Photoshop says that you can use it for adding highlights and shadows to an image in the same way that you can do dodging and burning with the soft light mode, but most of the times you will not prefer it because the result is harsher and it will desaturate the base image.
This is pretty much it for the hard light blending mode. In our next tutorial, we will cover the Vivid light blend mode.