
In this tutorial, we will understand the “Darker Color Blending Mode” which is listed last in the “Darken Modes” category.
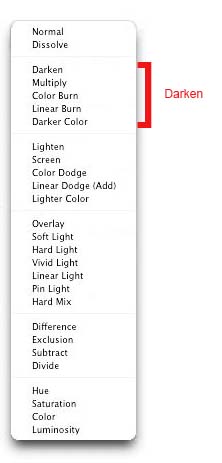
As we have learnt so far, each blend mode in this category results in darkening the image to an extent and our last blending mode is no exception to it. As per its definition mentioned on the Photoshop help site, “Darker Color Compares the total of all channel values for the blend and base color and displays the lower value color. Darker Color does not produce a third color, which can result from the Darken blend, because it chooses the lowest channel values from both the base and the blend color to create the result color”.
This I think is pretty self explanatory but to break it down in simple words, when you change the blending mode of a layer to darker color, you are telling Photoshop to compare the colors of its pixels with the layer beneath it and display whichever one is darker in tone. This is actually also the exact same definition of darken blending mode which is listed first in the darken category. The difference however is that darker color works in a more efficient manner when applying the above mentioned formula. Let us understand with the help of the following image.
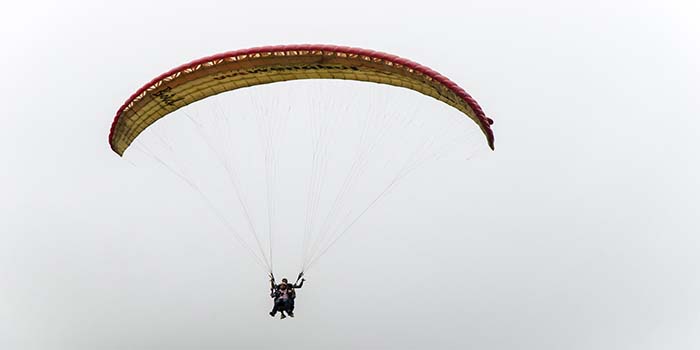
The reason why I chose this image is because of its light color tone. The pixels are almost white towards the top with a slight darker tone towards the bottom. The change in the tone is almost like a gradient with a noticeable color difference in middle top and bottom area which will help us with this tutorial. It was a very cloudy day when I clicked this photo and hence there is no color in the sky at all. We will try to change that and turn the sky blue.
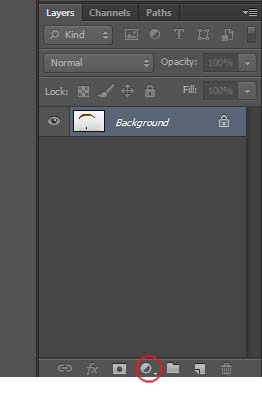
Add a solid color adjustment layer to this image. Go to the layers panel and click on “Create a new adjustment layer” icon.
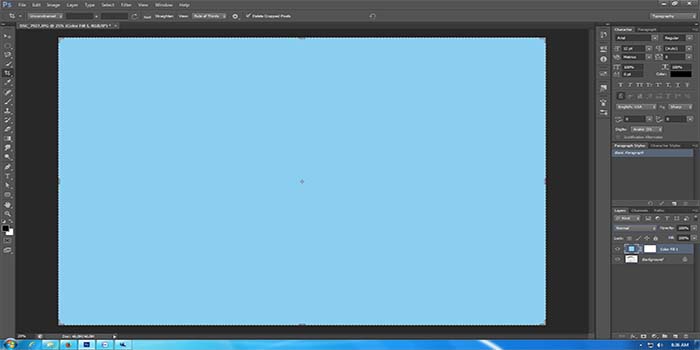
Select “Solid color” from the menu.

We are changing the color of the sky so I will select a sky blue shade from the color picker box and click OK to close it.

We now have two layers in our layers panel. Our image is on the background layer and the sky blue color we just added is on the color fill layer.

Since the blend mode of our adjustment layer is normal, right now all we see is the adjustment layer and the background image is hidden under it.
As I mentioned above, that the darker color mode can actually be called an enhanced version of darken mode when it comes to selecting a pixel with darker color tone. So let us first use the darken blend mode, then we will use the darker color blending mode and compare the results to find out the difference.
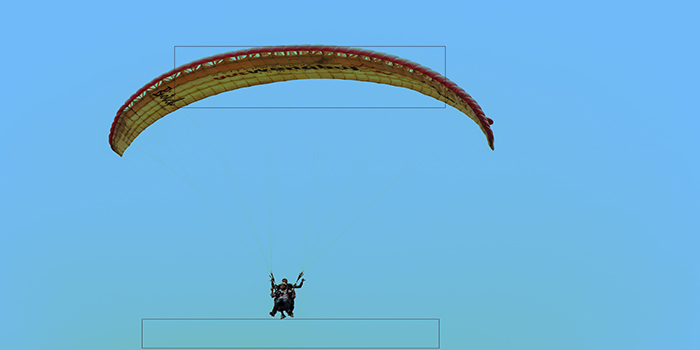
Make sure that the color fill layer is active or highlighted, as in the image below, and change the blending mode to “Darken”.
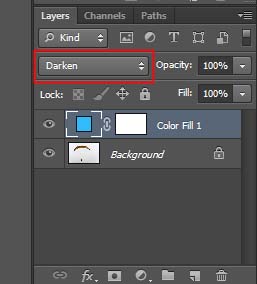
As expected, the moment we changed the blending mode, Photoshop compared the pixels of our two layers and displayed the ones that were darker. So the white pixels are now replaced with light blue where other pixels that were darker than light blue like the red and yellows of the parachute are still visible. So we successfully changed the color of our sky but not without small flaws. Notice that how the blue has a slight yellow effect towards the bottom and even the color of the parachute looks a little weird. This is because Photoshop blended the blue pixels of the color fill layer to the grayish pixel of the background layer and this resulted in a third color which of course we do not want.
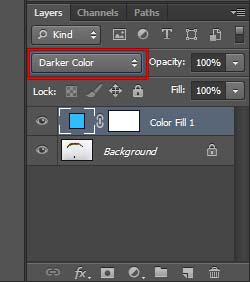
Now let us change the blending mode to darker color.
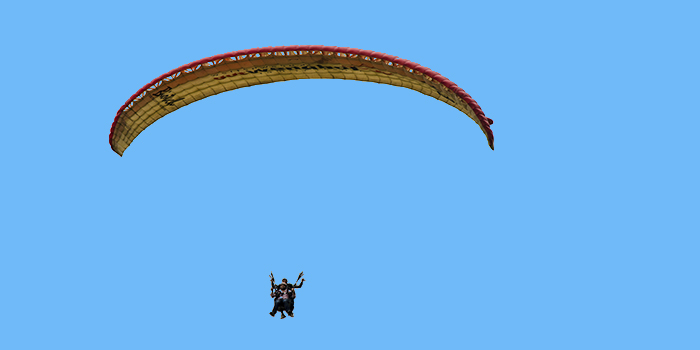
And all our small flaws are gone. The yellowish tint towards the bottom is no longer there and even the colors of the parachute look much better. Photoshop did not blend the colors to produce an entirely different tone. It just compared the two layers and made the darker pixel visible.
That concludes our tutorial on darker color blending mode and for the darken modes category as well. In the next tutorial, we will understand the lighten blending mode which is the first one listed in lighten category.