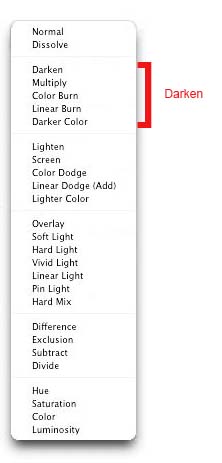
Photoshop, as we have learnt, has 6 different blending modes groups. So far, we have covered the normal and dissolve blend modes which even though are grouped together but are not really related to each other except for the fact that they are both blending modes. The first group is sometimes referred to as “Default” or “Basic” but the fact is that it is just an uncategorized group and because normal and default modes do not fit into any other category; they are both listed together in the first group. In this tutorial, we will look at the next blending mode group which is known as “Darken”.
As of Photoshop CS6, this group consists of five different blending modes and the reason why they are all grouped under the same category named “Darken” is because when applied, they will darken the image to a certain extent. The first mode Darken, which we are going to cover in this tutorial, has the least darkening impact on the image while color burn and linear burn have the greatest impact. As we look into these modes one by one, we will get a better understanding of what it means when we say “darkens the image”.
This entire group of 5 blending modes is categorized as “Darken” however in this tutorial we will be looking at the first blend mode in this category which also shares the same name and is fairly easy to understand. As per the official definition listed on Adobe help site, “Darken Looks at the color information in each channel and selects the base or blend color—whichever is darker—as the result color. Pixels lighter than the blend color are replaced, and pixels darker than the blend color do not change.” What it necessarily means it that when you add a new layer to your document and change its blend mode to Darken, Photoshop will compare the pixels of the blend layer and the one beneath and will display the pixels which are darker. If the pixels of the blend layer are darker than the ones on the layer below, they are kept in the image. If the pixels in the blend layer are lighter, they will be replaced with the tones on the layer below. Let us take a look at an image for better understanding. I have the following image open in Photoshop.
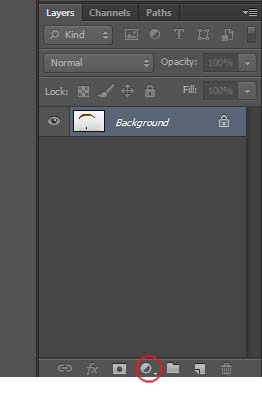
The reason why I chose this image is because of its light color tone. The pixels are almost white towards the top with a slight darker tone towards the bottom. Now let us add a solid color adjustment layer to this image. Go to the layers panel and click on “Create a new adjustment layer” icon.
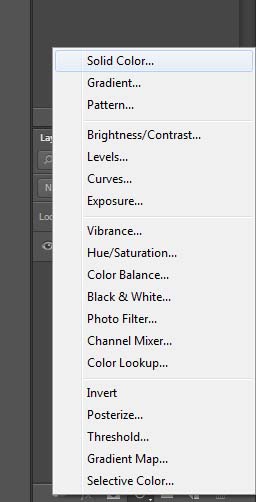
Select “Solid color” from the menu.
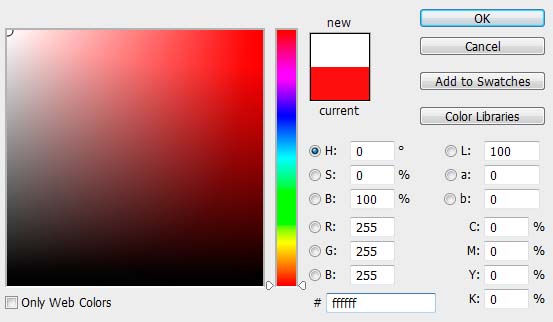
Select white color from the color picker box.
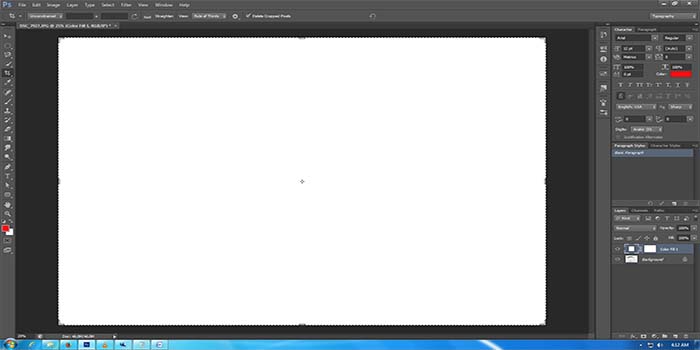
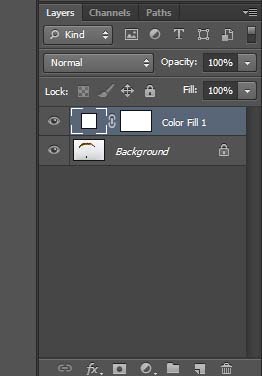
Click OK to close the color picker box. Photoshop will now add a solid color adjustment layer on top of our background layer.
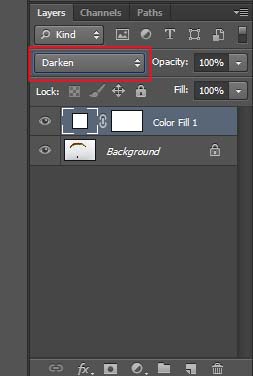
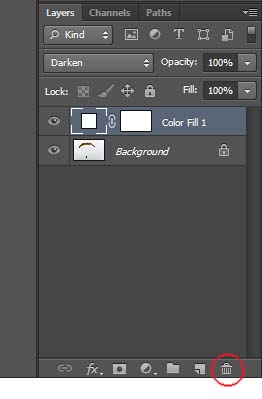
As of now, the blending mode of our adjustment layer is normal which actually means no blending at all so our background layer is completely hidden under the color fill layer. Now select the “color fill 1” layer to make it active, if it isn’t already, by clicking on it once, go to the blend mode menu and change the blending mode from normal to darken.
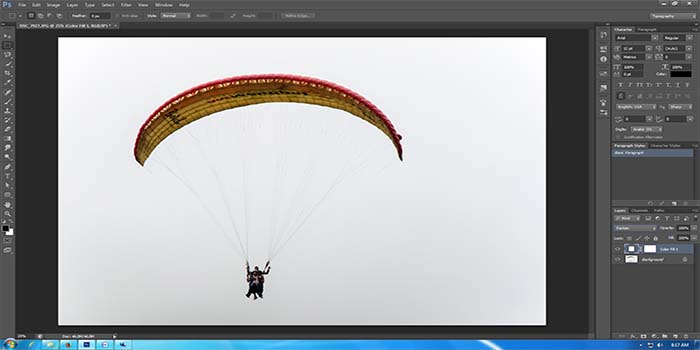
When our blending layer was normal, our background layer was completely hidden but the moment we turned the blend mode to darken, the solid color layer went completely transparent. Why? Because when we changed the blend mode, we told Photoshop to scan the both layers and display pixels that are darker in tone. Because our color fill layer was white and the background layer has a slight grayish tone which is of course darker than white, we are now only seeing pixels from background layer.
Now let us try another example. Delete the white color fill layer by selecting it and clicking on Delete Layer icon in the Layers panel.
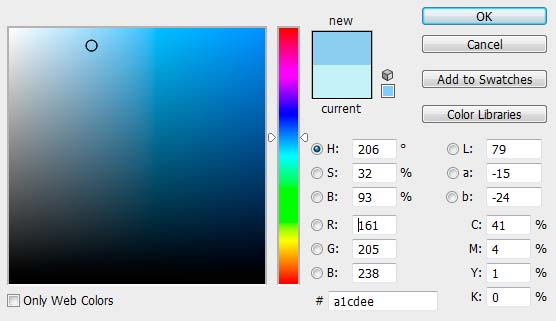
Click OK in the dialog box to confirm delete and we will be left with just our background layer. Now add another solid color layer like we just did a while ago. Click on create a new adjustment layer icon once again and select solid color. But this time, pick a darker color from the color picker box. I am running through these steps quickly because these are the exact same steps that we took while adding a white color fill layer. This time, I will choose a light blue shade from the color picker box.
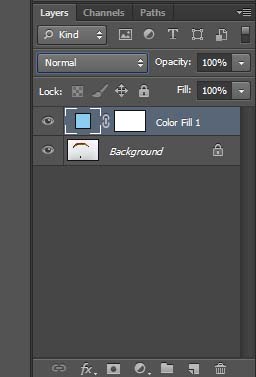
Once again we have two layers in the layers panel. One is the background image and on top of it is the blue color fill layer.
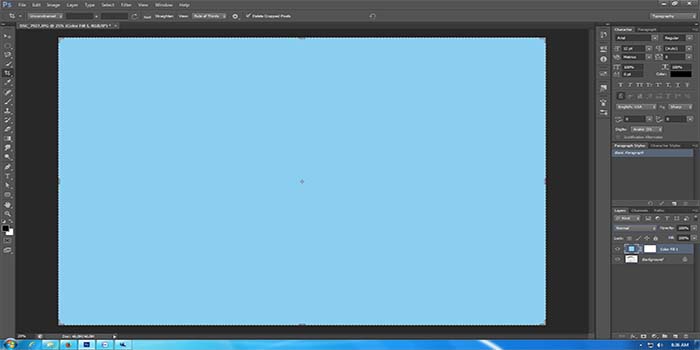
Since the blend mode of our adjustment layer is normal, right now all we see is the adjustment layer and the background image is hidden under it.
Repeating the same steps like we did before in this tutorial, click on the blend mode tab and change the blending mode to Darken.
Now you will notice that the white color is completely replaced with light blue however other darker color like red and yellow are still visible. What happened here is that Photoshop scanned both our layers and displayed only those pixels which were darker in tone. So in places where there was a white pixel on background layer, it got hidden and the bluish pixel was displayed however in places where a dark red pixel was present on the background image, it was displayed in place of the light blue pixel of the blending layer. Now our sky which was earlier a complete blown out white is now blue however other objects were not removed. I will post both the images for comparison.
As a final take away, and in very simple terms, when you chose the darken blend mode, you tell Photoshop to scan the blend layer and the layer beneath and display pixel that is darker and that is pretty much about it. I hope this helps clarify the darken blending mode. If you have any questions, please feel free to comment.
In next tutorial, we will take a look at the Multiply blending mode which is next in Darken modes group.

