When I first heard of the Magic Wand Tool, It was referred to me by its notorious name, “Tragic Wand”. As I was to learn later, the reason why it is named such is because some people found it almost impossible to work with and it frustrated them beyond imagination. But do not let this fool you, Magic Wand is quite easy and as a matter of fact fun to work with. All you need is a little understanding of how the tool works and how you can tweak it best to your requirements.
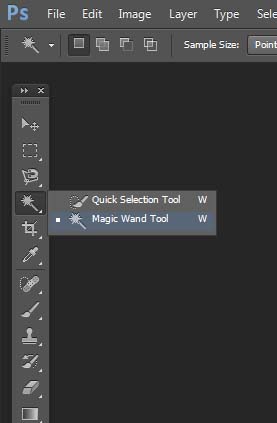
To select the Magic Wand Tool, simply click on its icon in the Tools palette. There are two tools nested in the same area and Photoshop by default highlights the last used tool in the tool bar for all categories. For example, if the last used tool was Quick Selection Tool, this will be the one that will show in the Tools Palette. To select Magic Wand tool, either left click and hold for a few seconds and then select from the fly menu or right click on the nest and select from the fly menu.
Keyboard shortcut for selecting the Magic Wand tool is “W” however it is the same shortcut for both the selection tools nested in that group. If last used tool was Quick Selection Tool, pressing “W” will again reselect it. You will have to again either right click and select or left click and hold for a few seconds for the fly menu to pop up.
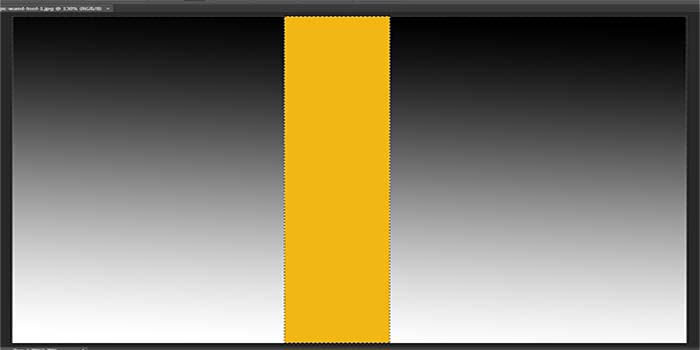
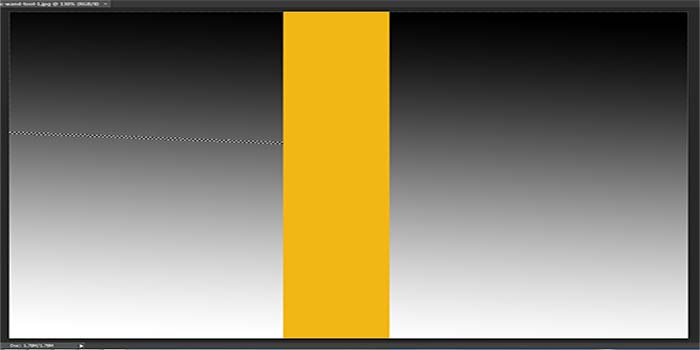
For the purpose of this tutorial, let’s look at a simple image of black to white gradient separated by a yellow / orange color bar. Magic Wand works in a pretty simple way. When you click on a portion of an image using the Magic Wand tool, Photoshop looks up the color and tone of the pixels you click on and auto-selects all pixels in the image that share same color and brightness values. For example, if I click on the Yellow portion in the image below, the Magic Wand tool will select and highlight the entire vertical bar that shares the same color.
This works well when the color is solid and there is no or very slight change but what if either the tone or color of pixels is slightly different. Here the “Tolerance Level” adjustment of Magic Wand Tool comes to rescue. This setting can be changed in the bar located on top of the screen.
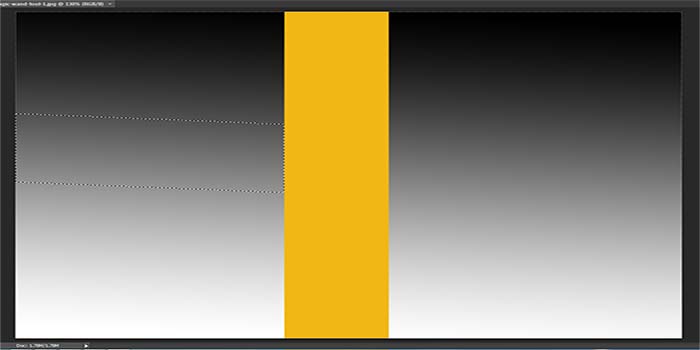
What Tolerance level tells Photoshop is how different a change in color or brightness value can be tolerated or considered while selecting the pixels. The default value is set at 32 which mean that Photoshop will select any pixels that are exactly of the same color as the area you clicked on with the Magic Wand Tool, plus any pixels that are up to 32 shades darker or 32 shades brighter. For example, let’s try clicking in the gradient area of the image below.
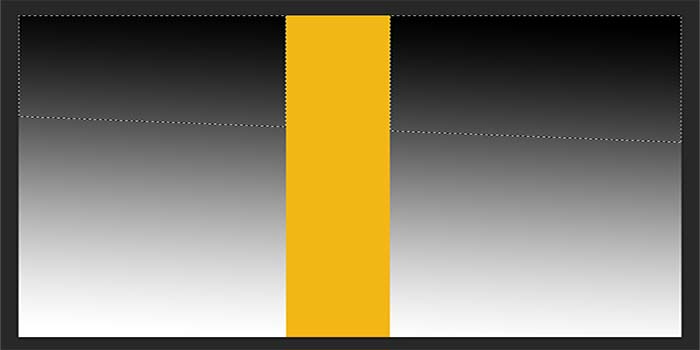
With the tolerance setting at 32, when I clicked on the gradient area, Photoshop selected all pixels that were either 32 shades darker or brighter. Now let’s double this value and see what happens.
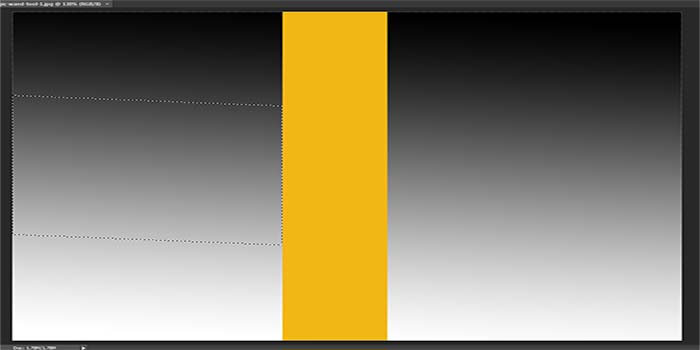
Now the selection area is double than the last time because now Photoshop is selecting pixels that are either 64 shades darker or brighter. If I reduce this number, the selection area will also be limited.
With value set at 0, Tolerance level also gets reduced to 0 meaning that Photoshop will only select pixels that are of the exact same color and brightness value. You can change this level anywhere between 0 to 255. The higher the value, the wider the range of pixels that Photoshop will select. At 0, pixels of the exact same color and tone will be selected and at 255, pretty much the entire image will be within the selection.
Another important thing to notice here is that every time we make the selection, Photoshop only selects one side of the yellow bar. Even though the colors are same on the other side as well, it does not auto select those pixels. It is because the “Contiguous” box on the top of your screen is checked. When this option is selected, Photoshop will only select pixels that are not only of acceptable color and tone but are also side by side to each other. In our case, because the pixels on the other side of the bar are separated by a bold yellow colored bar, Photoshop will not select those pixels. How do we make the selection on both sides? It’s simple, uncheck the Contiguous box, make the selection and you will notice that Photoshop is now selecting pixels on both sides.
You will also notice couple of other option on top of your screen with Contiguous and Tolerance. In case you are wondering what these are, best way to find out is by checking / un-checking them, making a selection and see what effect it had on your selection. Here is however a quick explanation of what these other two options can do for you.
Anti-Alias is by default selected and this is how you would want to leave it. Sometimes when you make a selection, it can appear a little harsh and jagged often referred to as a “stair stepping” effect. When you have the Anti-Alias option checked, Photoshop will smooth out the edges of you selection, making it look more natural and not out of place by applying a slight blur effect.
You are also better off leaving the “Sample All Layers” option unchecked. When you click on an image with the magic wand tool, Photoshop only looks for pixels to select only on the layer that is currently active in the layers panel. If you are working on a multi-layered document and want Magic Wand to sample colors on all layers, this is when you check this option. If it sounds a little rocket science right now, do not give it too much of a thought. I will cover this in a later tutorial. For now, just leave this option unchecked because in 90% of the cases, we would only want to sample colors in our active layer.
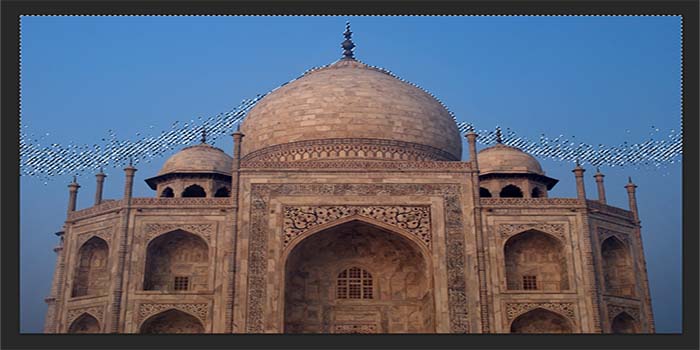
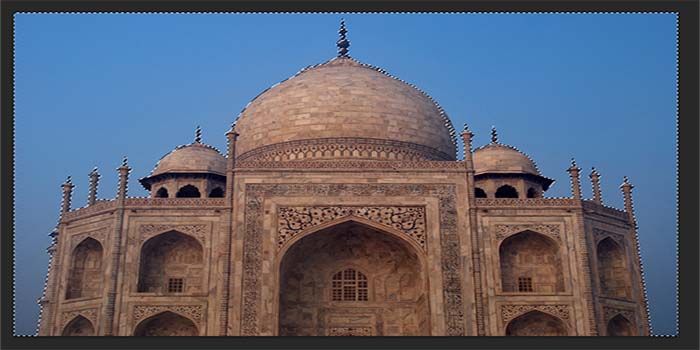
And this pretty much covers everything about the Magic Wand tool. For better understanding, let’s try using the tool now to make a selection in an image. This is a picture of Taj Mahal that I took a few years ago using my Nikon D60. You will notice how that image has several shades of the blue sky and this can make it a little confusing for the magic wand tool to make the selection.
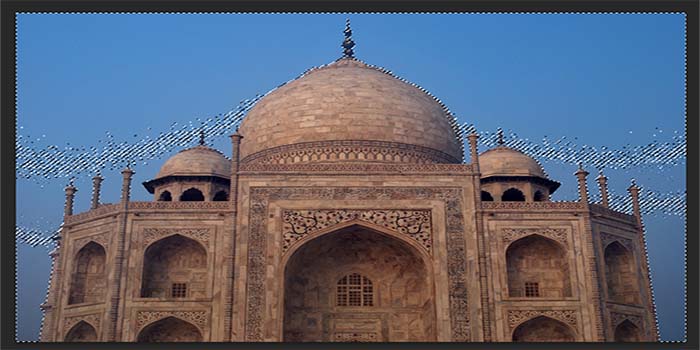
With Tolerance level set at 32, when I clicked on the sky, Magic Wand tool selected the pixels that were either 32 shades brighter or darker than the pixel that I clicked on. It left the sky unselected towards the bottom of the image but I of course want to select the entire sky. For this, with my shift key pressed, I will click again using the magic wand tool towards the bottom of the image on sky. Last time I clicked at the top portion of the sky.
More pixels were selected but some portion was still left out, especially in the middle part of the image. So now, still with my shift key pressed, I will click in the portion that is still now within the selection.
And now you will notice that the entire sky is within the selection.
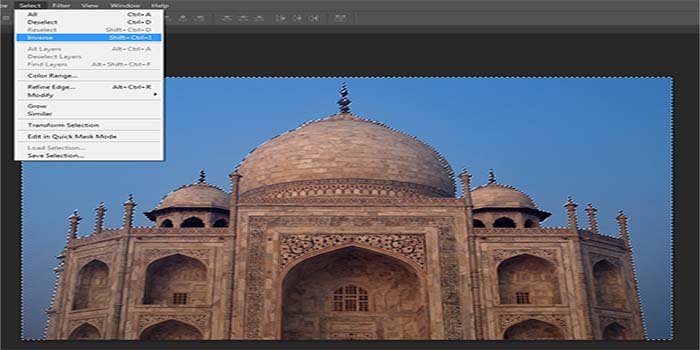
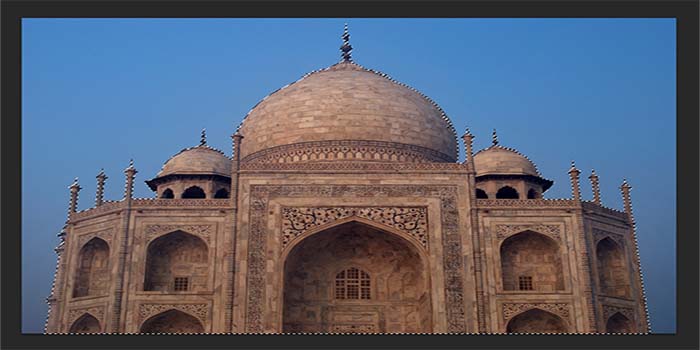
Now let us say for example that it is not the sky that I wanted to select but Taj Mahal itself. Now that would have proven a little trickier than selecting the sky that just has one color. Not only in this image, but in other images as well, selecting the sky would prove much easier than other objects in the image. To handle this, Photoshop offers a simple tool call invert selection. To do this, go to select in the menu at the top and click on inverse. This would invert the selection from the sky to Taj Mahal.
If you need to deselect the area you just traced around, go to Select Menu at the top and select click on “Deselect”. Alternatively, you can also use Keyboard shortcut Ctrl+D to deselect a selection.

