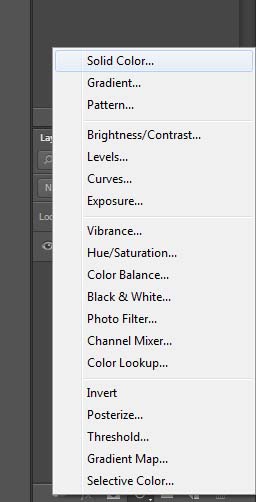
In our last tutorial we looked at the importance of working with layers while making any adjustments to our images. In this tutorial, we will look at the Solid Color adjustment layer. This is the one sitting on top in Photoshop’s adjustment layers list.
The solid color adjustment layer is perhaps the easiest to understand among all the adjustment layers. The purpose of this layer is to fill a document with a solid color. The color could be any of our choice. Let’s understand with the help of an example.
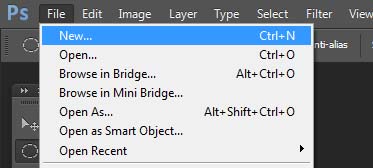
Create a new blank document in Photoshop, that is go to File Menu at the top and select New.
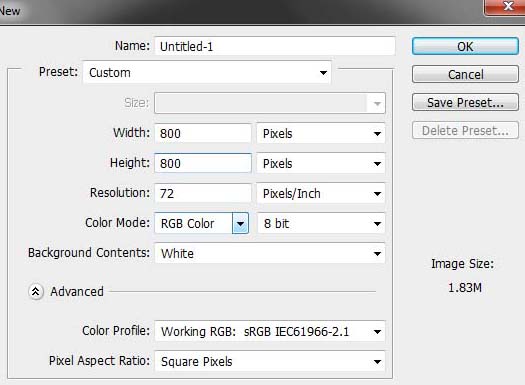
You will be presented with a dialog box asking you to mention the dimensions of the document that you would like to create along with a few other settings. I will use 800 pixels for height and width, 72 pixels/inch for resolution, color mode as RGB and background contents as White. There is no specific reason to why we are using these settings. We just need a blank document as of now. So that we are both on the same page, I suggest that you follow the same settings. You can change the height and width if you like but leave the rest same to what I suggested.
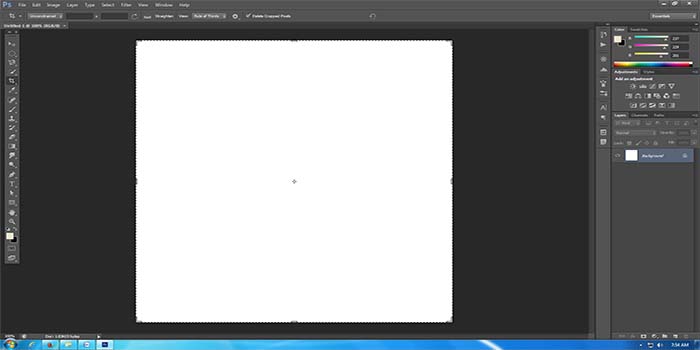
Photoshop will create a new white document.
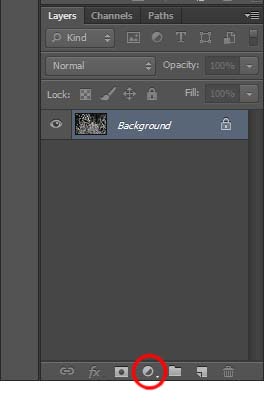
As I mentioned, we use the solid color adjustment layer to fill a document with a color of our choice. In order to do so, click on the “Create a new adjustment layer” icon at the bottom of the Layers panel and select “Solid Color” from the list.
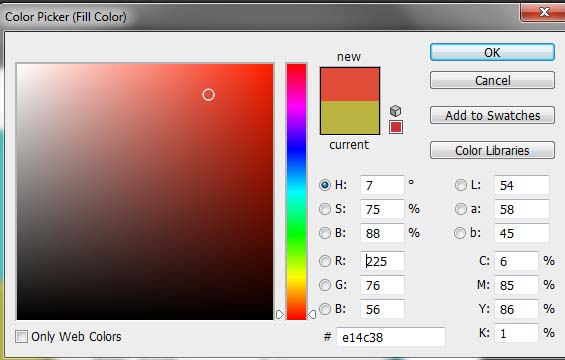
Photoshop will present the color picker dialog box from where I will choose the red color that I want to use. If you are wondering how to select a color here, it is fairly simple. Just drag the pointers on the vertical color bar all the way to the top where the red color is, and then from the color box, choose the shade that you like.
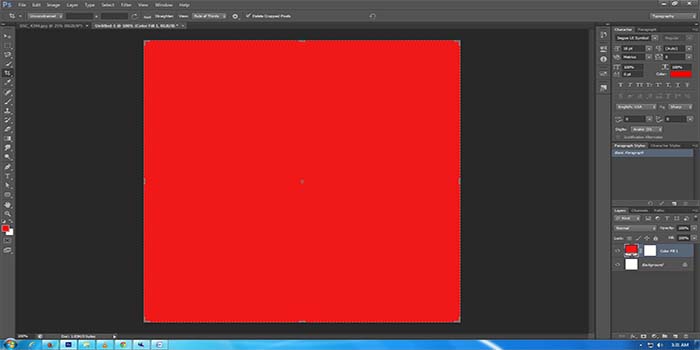
Click OK to close the color picker box and Photoshop will fill the document with the color we just selected, which in my case was red but you can choose any color that you like.
And there we have it. This is what the Solid Color adjustment layer does.
Another way to fill a document with a solid color is to use the “Fill” command from the “Edit” menu. Let’s take a look at that one as well. Create a new white document again, just like we did a while ago in beginning of this tutorial. Let’s keep all the setting same as the last time.
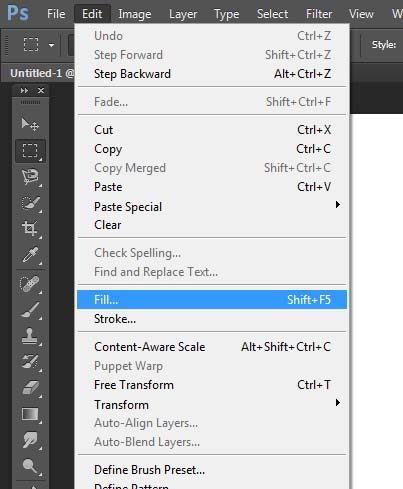
Now go to “Edit” in the menu bar at top of the screen and select “Fill”
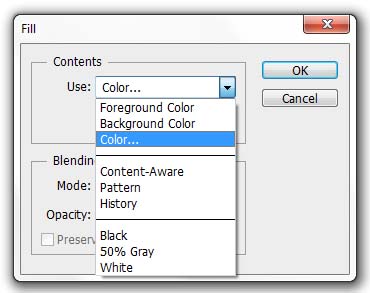
We will be presented with the Fill dialog box. Click on the “Use” field to bring out the drop down menu and then select “Color”.
Photoshop will present the color picker box again. I will again chose the same red color that I did the last time.
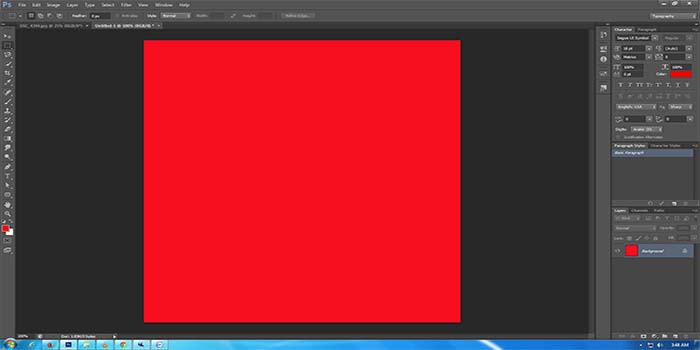
Click OK to close the color picker and OK to close the “Fill” dialog box. Photoshop will again fill the document with the selected color.
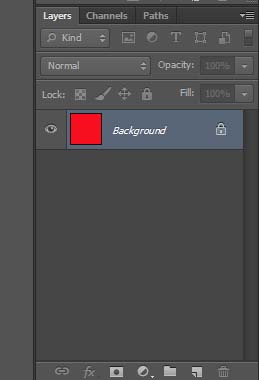
It all looks the same both ways for a moment. No matter which route I take, I will get what I desired, that is a document filled with red color. However there is a huge difference when I give this command via Edit menu or adjustment layers. Let us take a look at the Layer Panels.
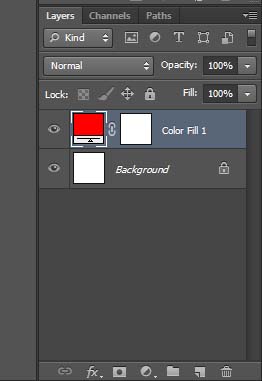
When I filled the color using the edit menu, I just have one layer in my layers panel which means that there is nothing further I can do. I have a document filled with red and that is pretty much about it. However, when I used the Solid color adjustment layer, my Layers Panel looks a little different. I have my background layer which is still white and the solid color adjustment layer on top of it filled with red. This opens up a whole new range of options for me. Let us again understand with the help of an example.
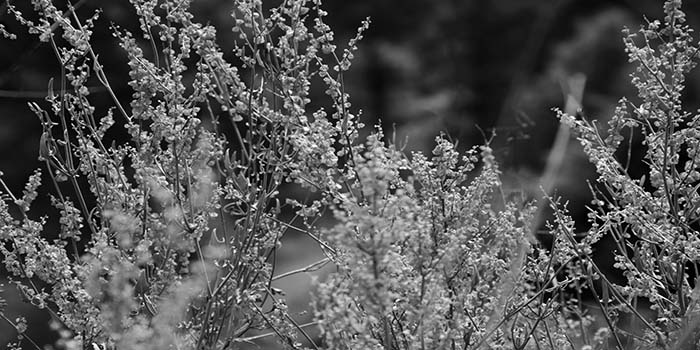
I have the following image open in Photoshop.
This looks like a very dull Black and White image. Let us try to make it a little more attractive using the Solid Color adjustment layers. Some of these steps might be a little advanced for a complete beginner. For now, just follow up them making all the changes as I suggest. We will be covering these steps in detail in later tutorials.
With the image open, go the “Create new adjustment layer” option in Layers panel and select Solid Color.
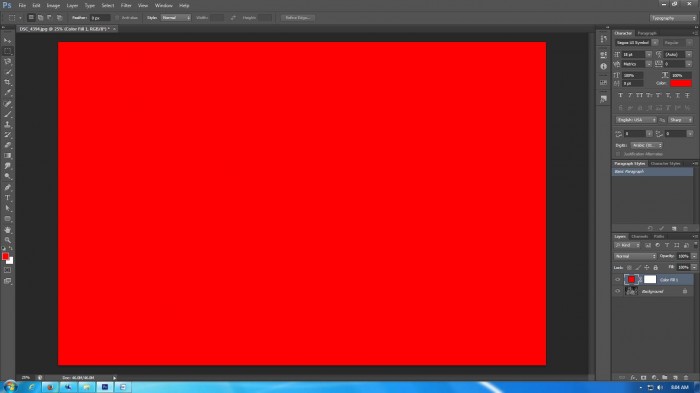
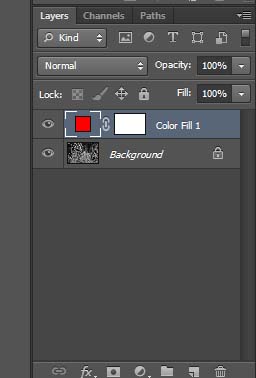
Let’s try red first of all since it is clearly our favorite color for this tutorial. Select the red color and click okay to close out the color picker box. This will fill our document with a layer of red hiding our original image. In the layers panel, we now have an adjustment layer added on top of background layer.
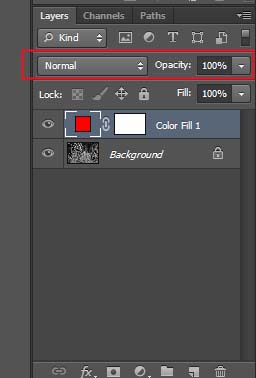
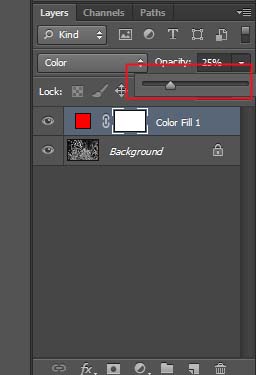
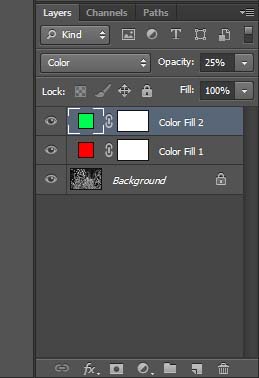
Now select the adjustment layer, by that I mean highlight it by clicking on it once, like in the image above. Right on top of the adjustment level, in the header area of Layers panel are two options that we are going to use. One is the blend mode and other one is the opacity.
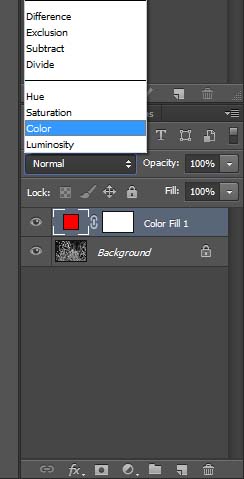
Do not give too much attention to these options as of now. As I mentioned above, we will be covering these in a later tutorial in details. For now, click on the blend mode, the one that reads “Normal” as of now. This will bring out a fly menu from which find and select the option “Color”
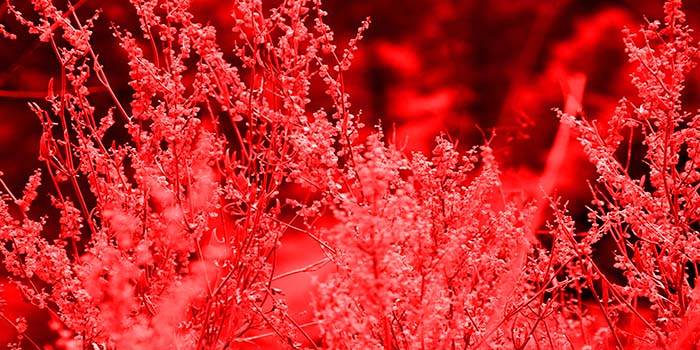
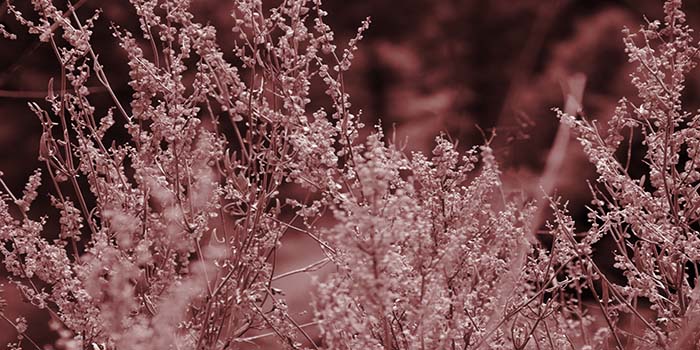
Earlier, our entire image was covered under a thick layer of Red, not visible at all. After we changed the blend mode to “Color”, our image will become visible with a tint of bright red.
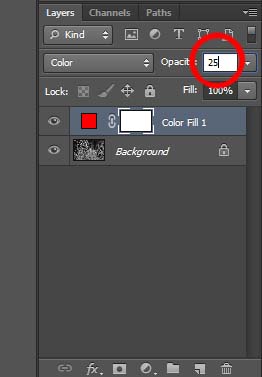
This of course is too much red and kind of looks weird so let us tone down the red a little. Right in front of the blend mode there is another field called “Opacity”. As of now it reads 100% and we got to lower that down. There are two ways to do it. Either we can directly click where it reads 100% after which it will turn into an editable field. Let’s lower the Opacity down to 25% so type 25 in that field and hit Enter. Make sure the Solid color adjustment layer that is currently named as Layer 1 is highlighted in Layers Panel else you will not be able to edit these fields.
Another way to lower opacity is to click on the arrow mark which will bring out a slider. Click and drag the slider down until the text area shows Opacity at 25%.
After making these changes, this is how my image looks.
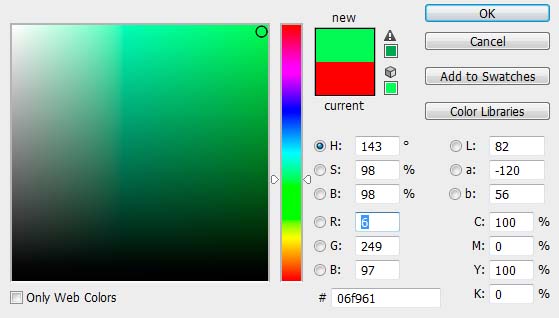
This is starting to look better already but let’s make a few more changes. Once again, click on the “Create a new adjustment layer” icon and select “Solid Color”. Let’s throw in a bit of green. I will choose a shade of green from the color picker box.
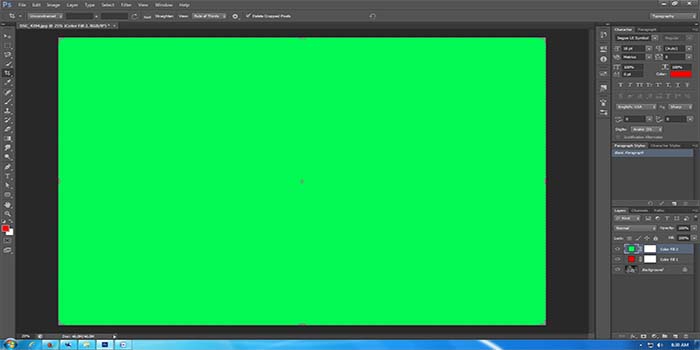
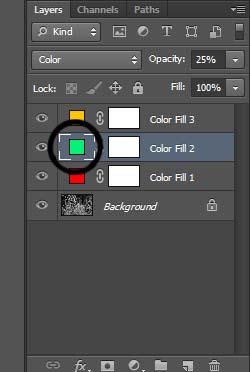
Our document will now be filled with solid green and there are two adjustment layers in our Layers panel. Color Fill 1 is our red layer and color fill 2 is our green layer. Click on Color Fill 2 once to select or highlight it, change the blend mode to color and lower the opacity down to 25%, same way as we did with our red layer.
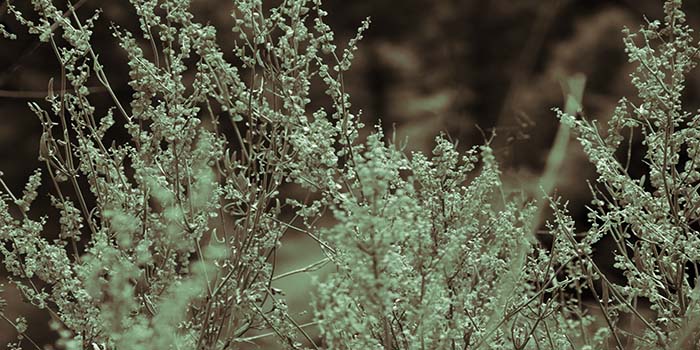
This is how our image looks after adding a bit of greenish effect.
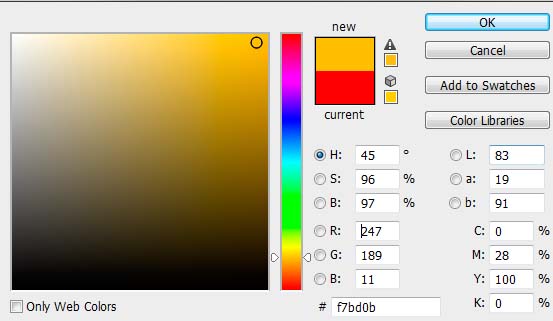
How about we throw is some more color? Create another solid color adjustment layer and this time, lets select a bit of Orange from the color picker box.
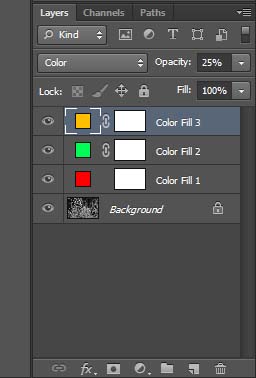
We now have three layers in our Layer panel with Color Fill 3 at the top. This is the layer that added the orange color to our document. Following the same steps that I mentioned above, lower the opacity down to 25% and change blend mode to Color. Make sure the top layer, Color Fill 3, is highlighted when you do that.
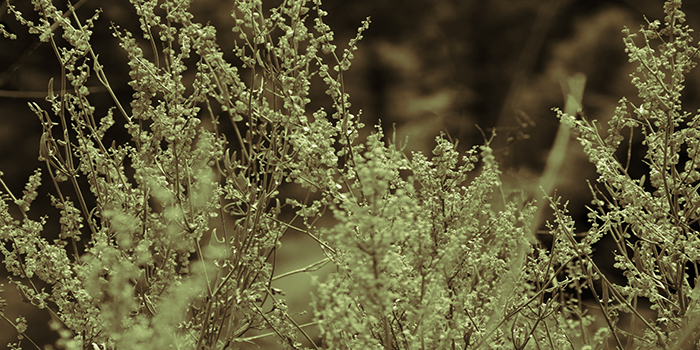
And this is how our image looks after this adjustment. I am posting the both images for comparison.
This was a very simple example of how you can throw in some colors using the solid color adjustment layer, maybe in a blank document or to an image. The great thing about adjustment layers is though that we can edit them any time we want. Let us assume that I want to change one of the colors, let’s say I want to choose a different shade of green. In order to do that, double click on the preview thumbnail in the layers panel.
This will bring out the color picker box again from where you can choose a different shade of green or change the color entirely if you wish to do so.
And that is pretty much it about the Solid Color adjustment layer. In the next few tutorials, we will look at the Opacity and Blend options in more details and understand how these can effect our images.
If you have any questions / suggestions, feel free to post in comments section below.

