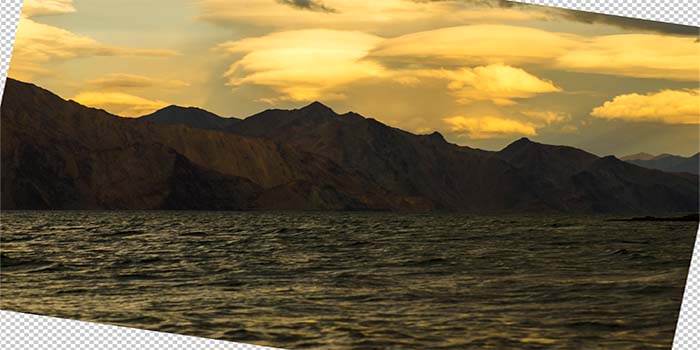
Ruler Tool is probably one of the simplest tools that Photoshop has to offer. Its function is also very simple; you use the ruler tool to draw a non-printable line on an image. The big question however is why you would want to do that. Let us understand this better using the following image as an example.
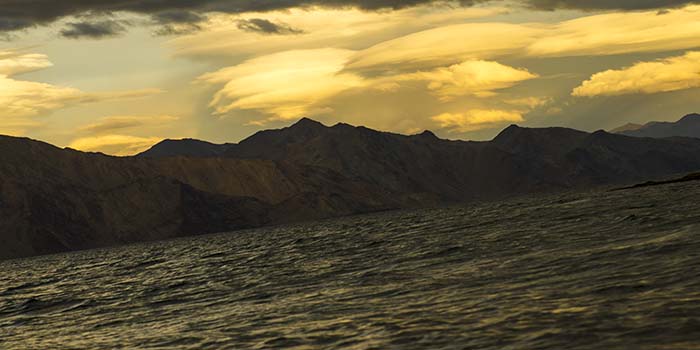
It doesn’t take a genius to guess that this image is highly tilted. Usually in cases like this, people just delete images that are so badly crooked and only keep the good ones. But for argument’s sake, let us assume that I do not want to delete this image and would rather straighten and keep it. Up until CS5, there was no easy way to straighten crooked images in Photoshop and people had to work around it a little bit. With the introduction of ruler tool in CS5, this task became a lot easier.
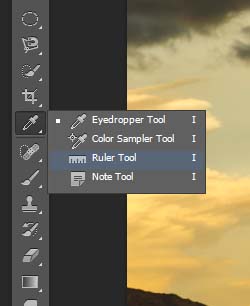
The ruler tool is nested in the same area as the Eye Dropper Tool. To select it, left click on the nest, hold down your mouse button for a second and select the ruler tool from the fly menu. You can also right click on the nest and select. Keyboard shortcut for ruler tool is “I” but it is also the shortcut for all other tools in that nest which means you will have to still select the ruler tool from fly menu after pressing I. Another way is to use Shift + I command from your keyboard to shuffle between the tools in that nest.
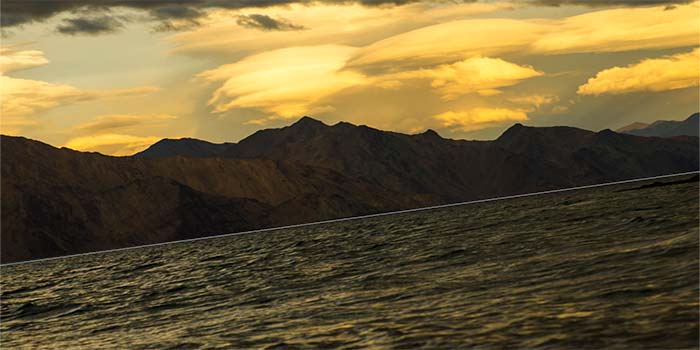
Once you have the ruler tool selected, look for an object in your image that should be straight. In our case here, I would use the spot where the water meets the mountains as a reference. I would click on the left side of the image, hold the mouse button down and draw a straight line to the right.
Now with that done, look for a tab that reads “Straighten Layer” on top of your screen.

The second tab “Clear” would clear the line that we just draw in case we want to do it again. But since the line appears to be okay, we will click on the “Straighten Layer” tab. When we do this, we are telling Photoshop to straighten the tilted line that we just draw and rotate the entire image with it accordingly.
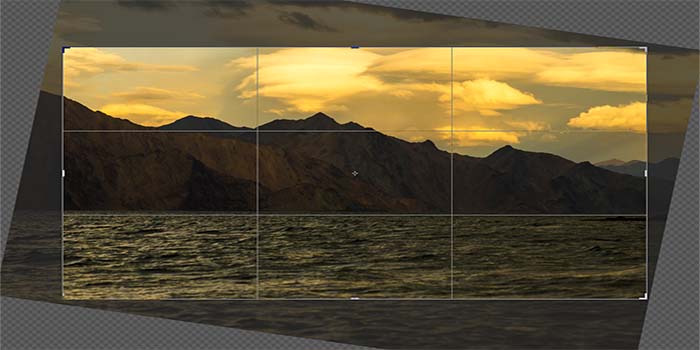
Now the image appears to be straight but there is white background that we of course do not need.
We will have to crop that part out using the crop tool.
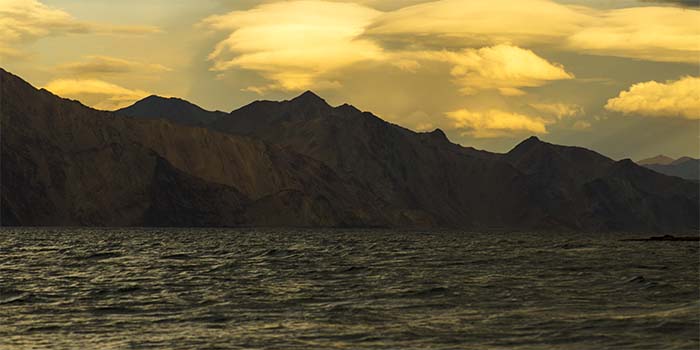
And here is our final straightened image.
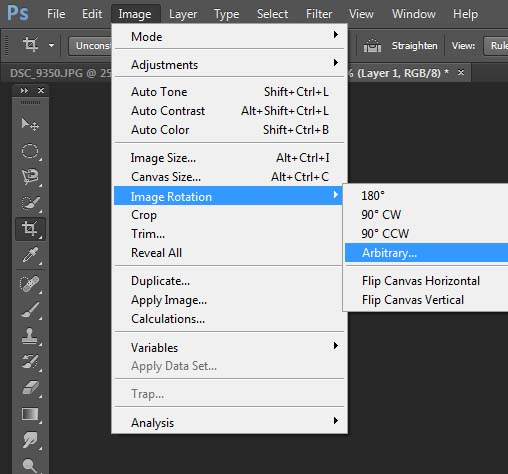
Another way to straighten the image after drawing the line is to go to “Image” in your tool bar at the top, then “Image rotation” and click on “Arbitary”. Click OK on the Rotate Canvas pop up and it will produce the same result as clicking on “straighten layer” tab.